
Alien Cake Pops

Out of this world alien cake pops makes for a fun treat this Halloween! Easy to make with only a few ingredients and steps to create these fun cake pops.

Cake pops are all the rage these days as they are a easy, handheld treat that comes in all shapes and colors. Kids love them with all of the fun designs that the cake can be molded into, like these aliens!
I went on a crazy chocolate mold shopping spree awhile back and I had saw this alien mold. When I saw it I knew that I had to buy it! It's meant to be a chocolate lollipop mold, but that doesn't mean you can't get creative with it. That's when I thought of making them into alien cake pops!

What You Need
- Chocolate mold: You will need this alien chocolate mold.
- Lollipop sticks
- Cake: Bake whatever kind of cake you like! It can be your family's favorite from scratch or just a simple box mix.
- Frosting: You will need a small batch of simple buttercream. You can always use store bought frosting too.
- Candy melts: Green and black candy melts are the main colors that you will need, but you can always use a different color.
How to Make the Alien Cake Pops
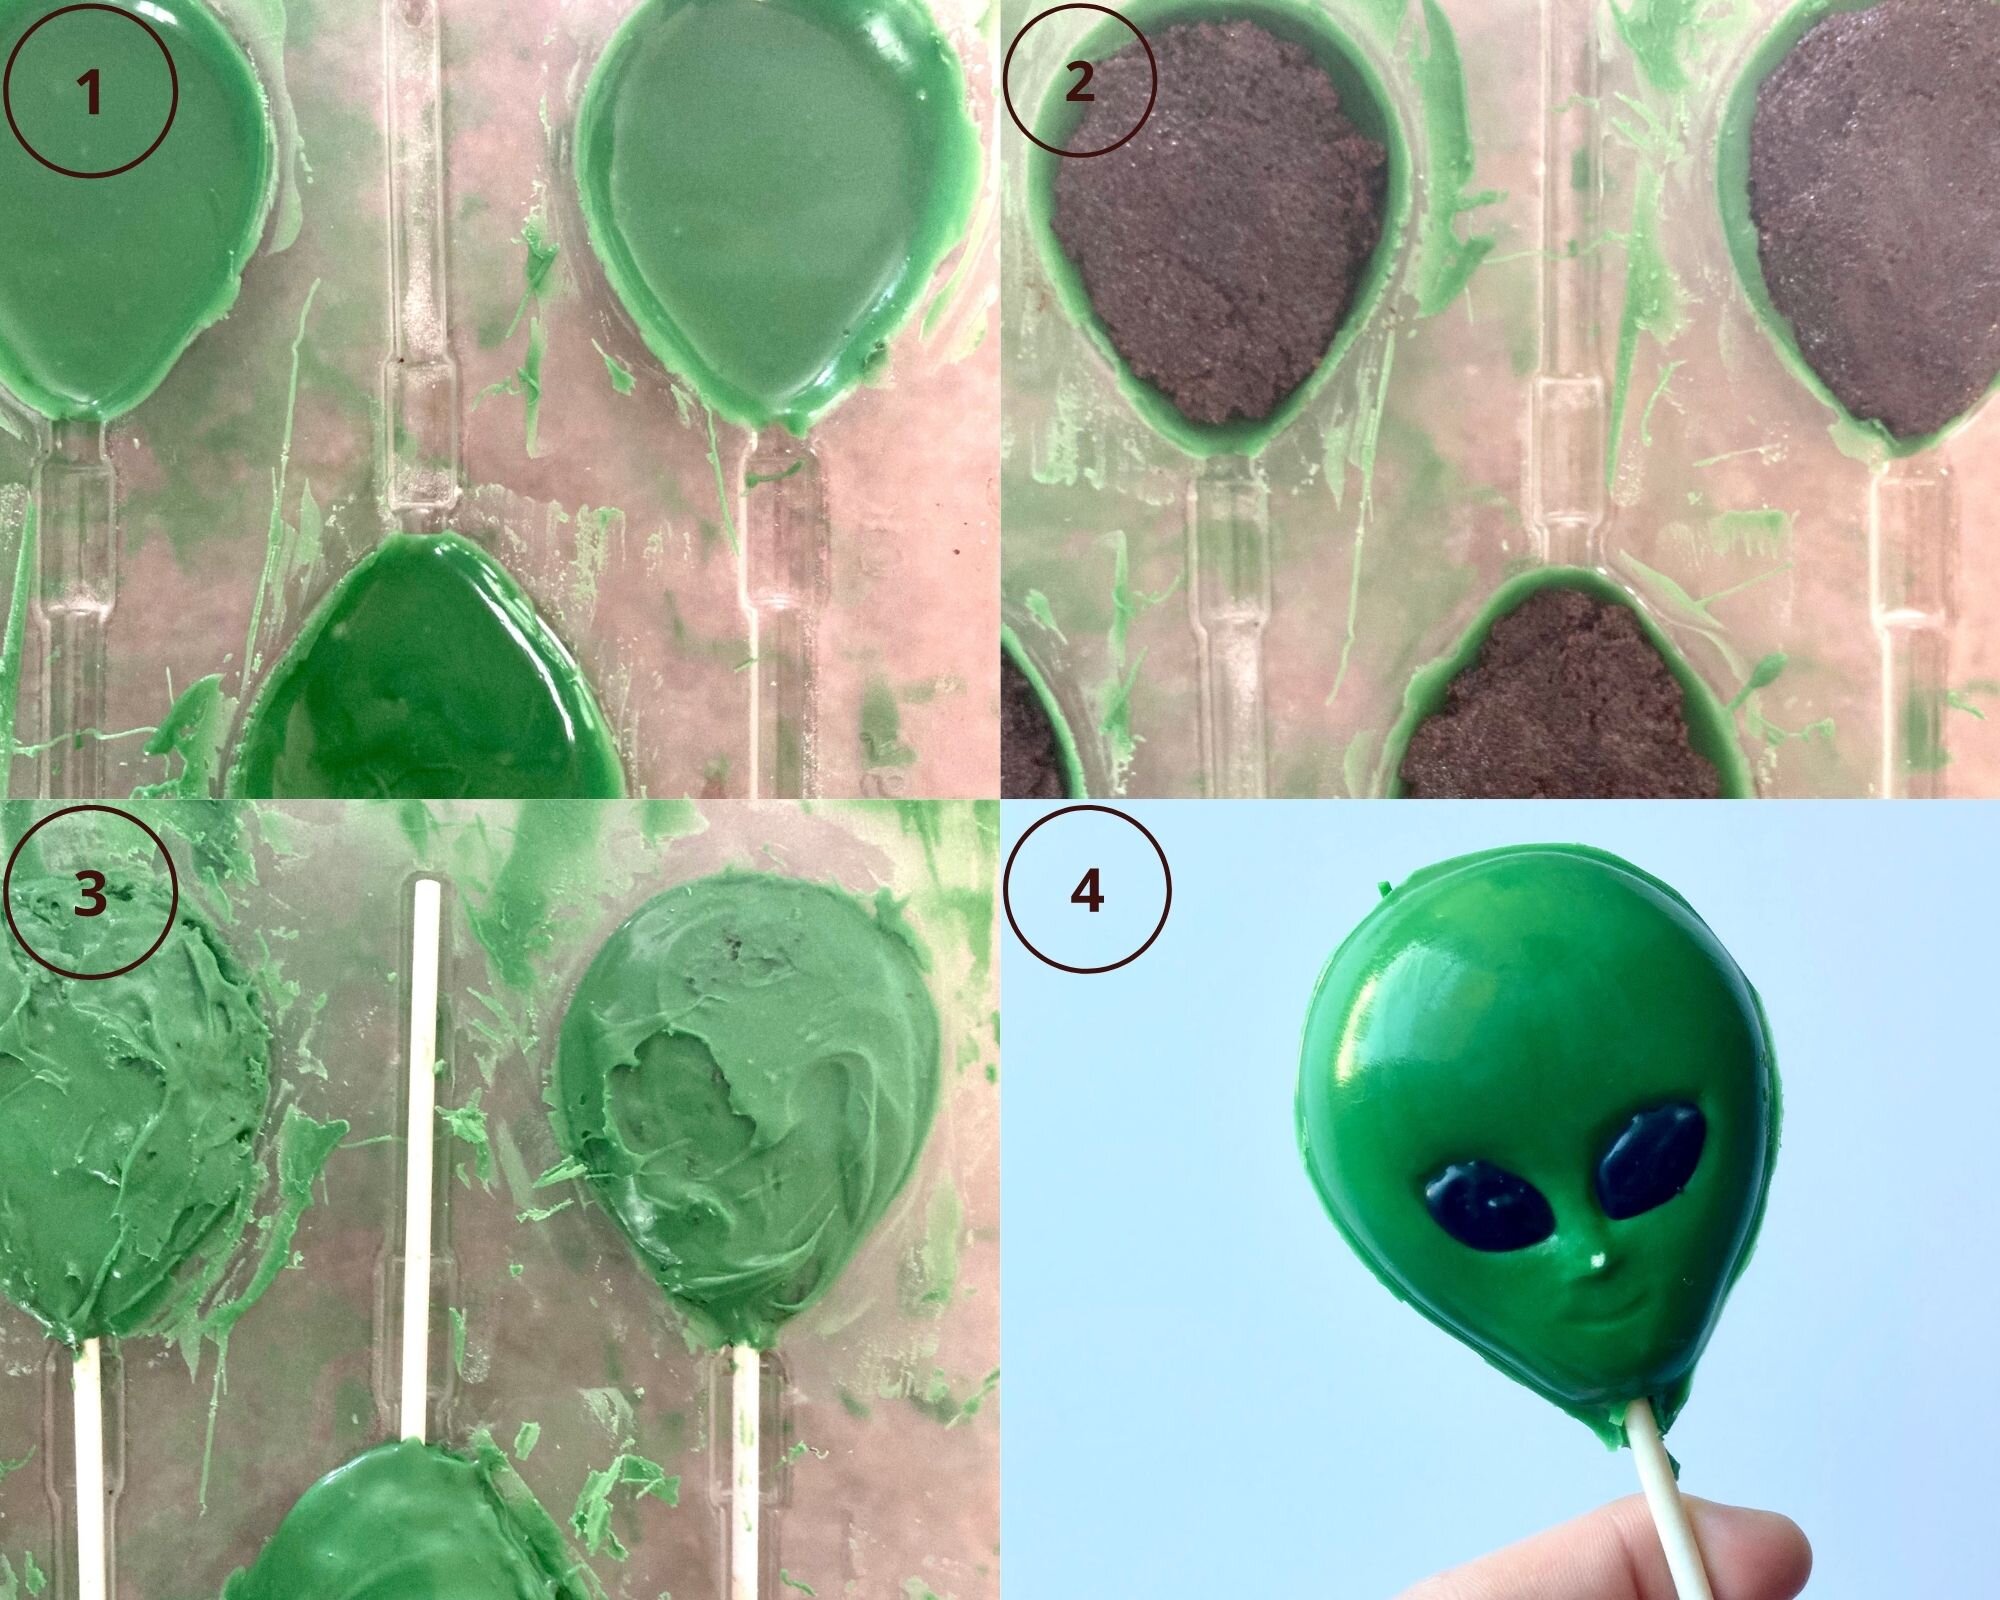
- Start by melting the candy melts and putting a little into each mold and spreading it around to create a nice smooth base.
- Fill each mold 3/4 of the way with the cake pop mixture.
- Top with more chocolate and let harden.
- Remove the alien cake pops from the mold and add the details with the black chocolate.
Tips & Tricks
- Tap the mold against the counter to create that nice smooth finish for when you take the cake pop out of the mold.
- Make sure not to fill it too much with the cake mixture or else when you add the rest of the chocolate it won't get that flat surface, but it doesn't have to be perfect either.
- You can always add in the black chocolate details beforehand. Just take a small piping bag and pipe in the details. Let it harden and then continue following the rest of the steps to make these cake pops.
Other Recipes You May Like
Vanilla Cake with Pumpkin Spice White Chocolate Ganache
Alien Cake Pops

Cake pops made in the shape of alien faces with the help of a chocolate mold.
- 1 bag green candy melts
- 1/4 cup black candy melts
- 1 cup frosting
- 1 cake (baked in a 8x8 inch pan)
-
Take the cake and crumble it up. Add in the frosting and mix it up until the cake starts to stick together easily and can be formed into balls. Cover and set aside.
-
Melt the green chocolate and spread a thin layer into each mold. Let set.
-
Add in enough cake pop mix to fill up 3/4 of the mold. Insert the lollipop sticks and cover it with the cake.
-
Top with more chocolate and let set until firm.
-
Once firm, carefully remove from the mold and add in the details of the eyes with the black chocolate.
This can be time consuming if you only buy 1 chocolate mold. You can always make cupcakes and use a few cupcakes instead of making a cake for these cake pops.

Mango Orange Peeps
[wprm-recipe-jump]
*Disclaimer: This post contains affiliate links. To learn more, please go here.Easter is just around the corner and with these trying times being stuck at home, these homemade mango orange peeps are just what the doctor ordered. Making homemade marshmallows is super easy and most will have all of the ingredients already in their pantry. Only calling for some simple ingredients like sugar, water, gelatin, and corn syrup and the flavor is completely versatile too! You don't have to make them mango and orange, but can do strawberry or just plain lemon. The possibilities are endless!To make the peeps, you'll need either to get a bunny shaped silicone mold to get the cute shapes. The mold will also help to create less waste. Or you can pour the marshmallows directly into a pan and use a cookie cutter and cut out little bunny shapes. This all depends on you and what you are willing to do to get the desired peep shape. You can make these mango orange peeps any way and form you like.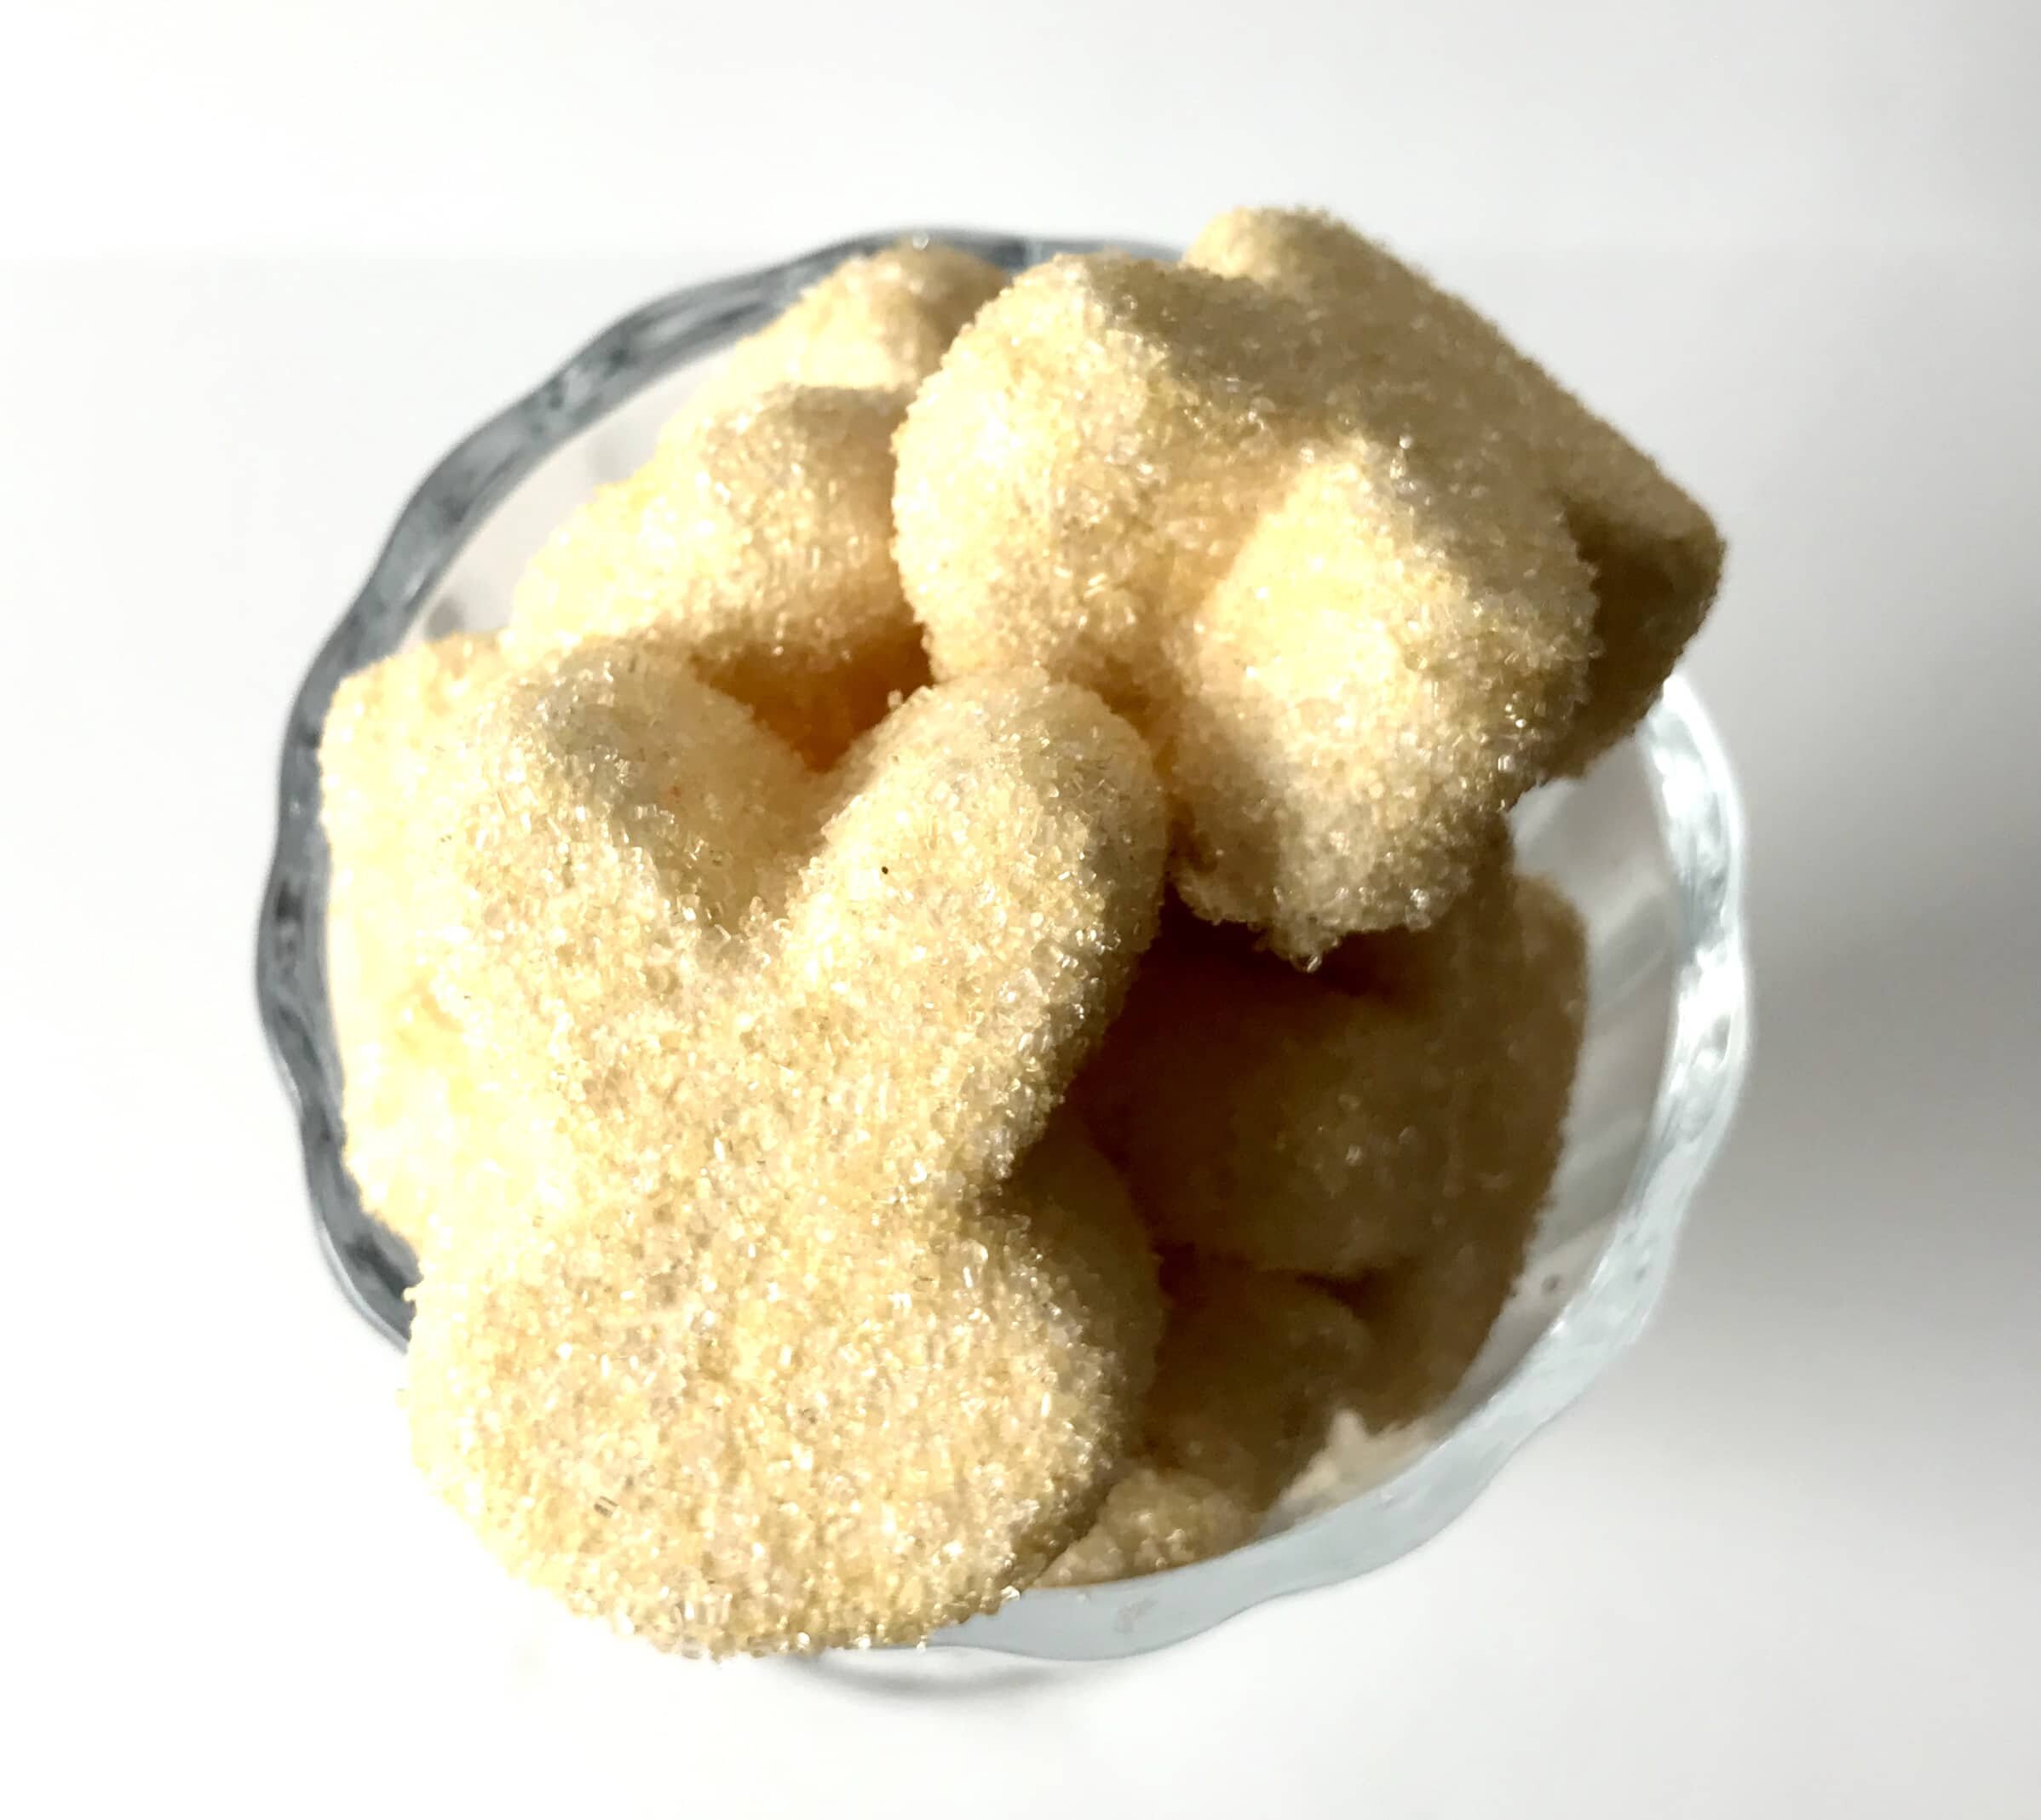
[mailerlite_form form_id=1]
Above are some products that I personally use and recommend for this recipe and to have for everyday use. One thing that you 100% need when making marshmallows is a candy thermometer. It won't be accurate if you use a meat thermometer, plus a candy thermometer is nice since you can just clip it to the side of your pot and not have to hold it over the blistering heat while the sugar cooks. It also tells you what the sugar stage is which is helpful when making marshmallows or any other form of candy.
__________________________________________________________________________
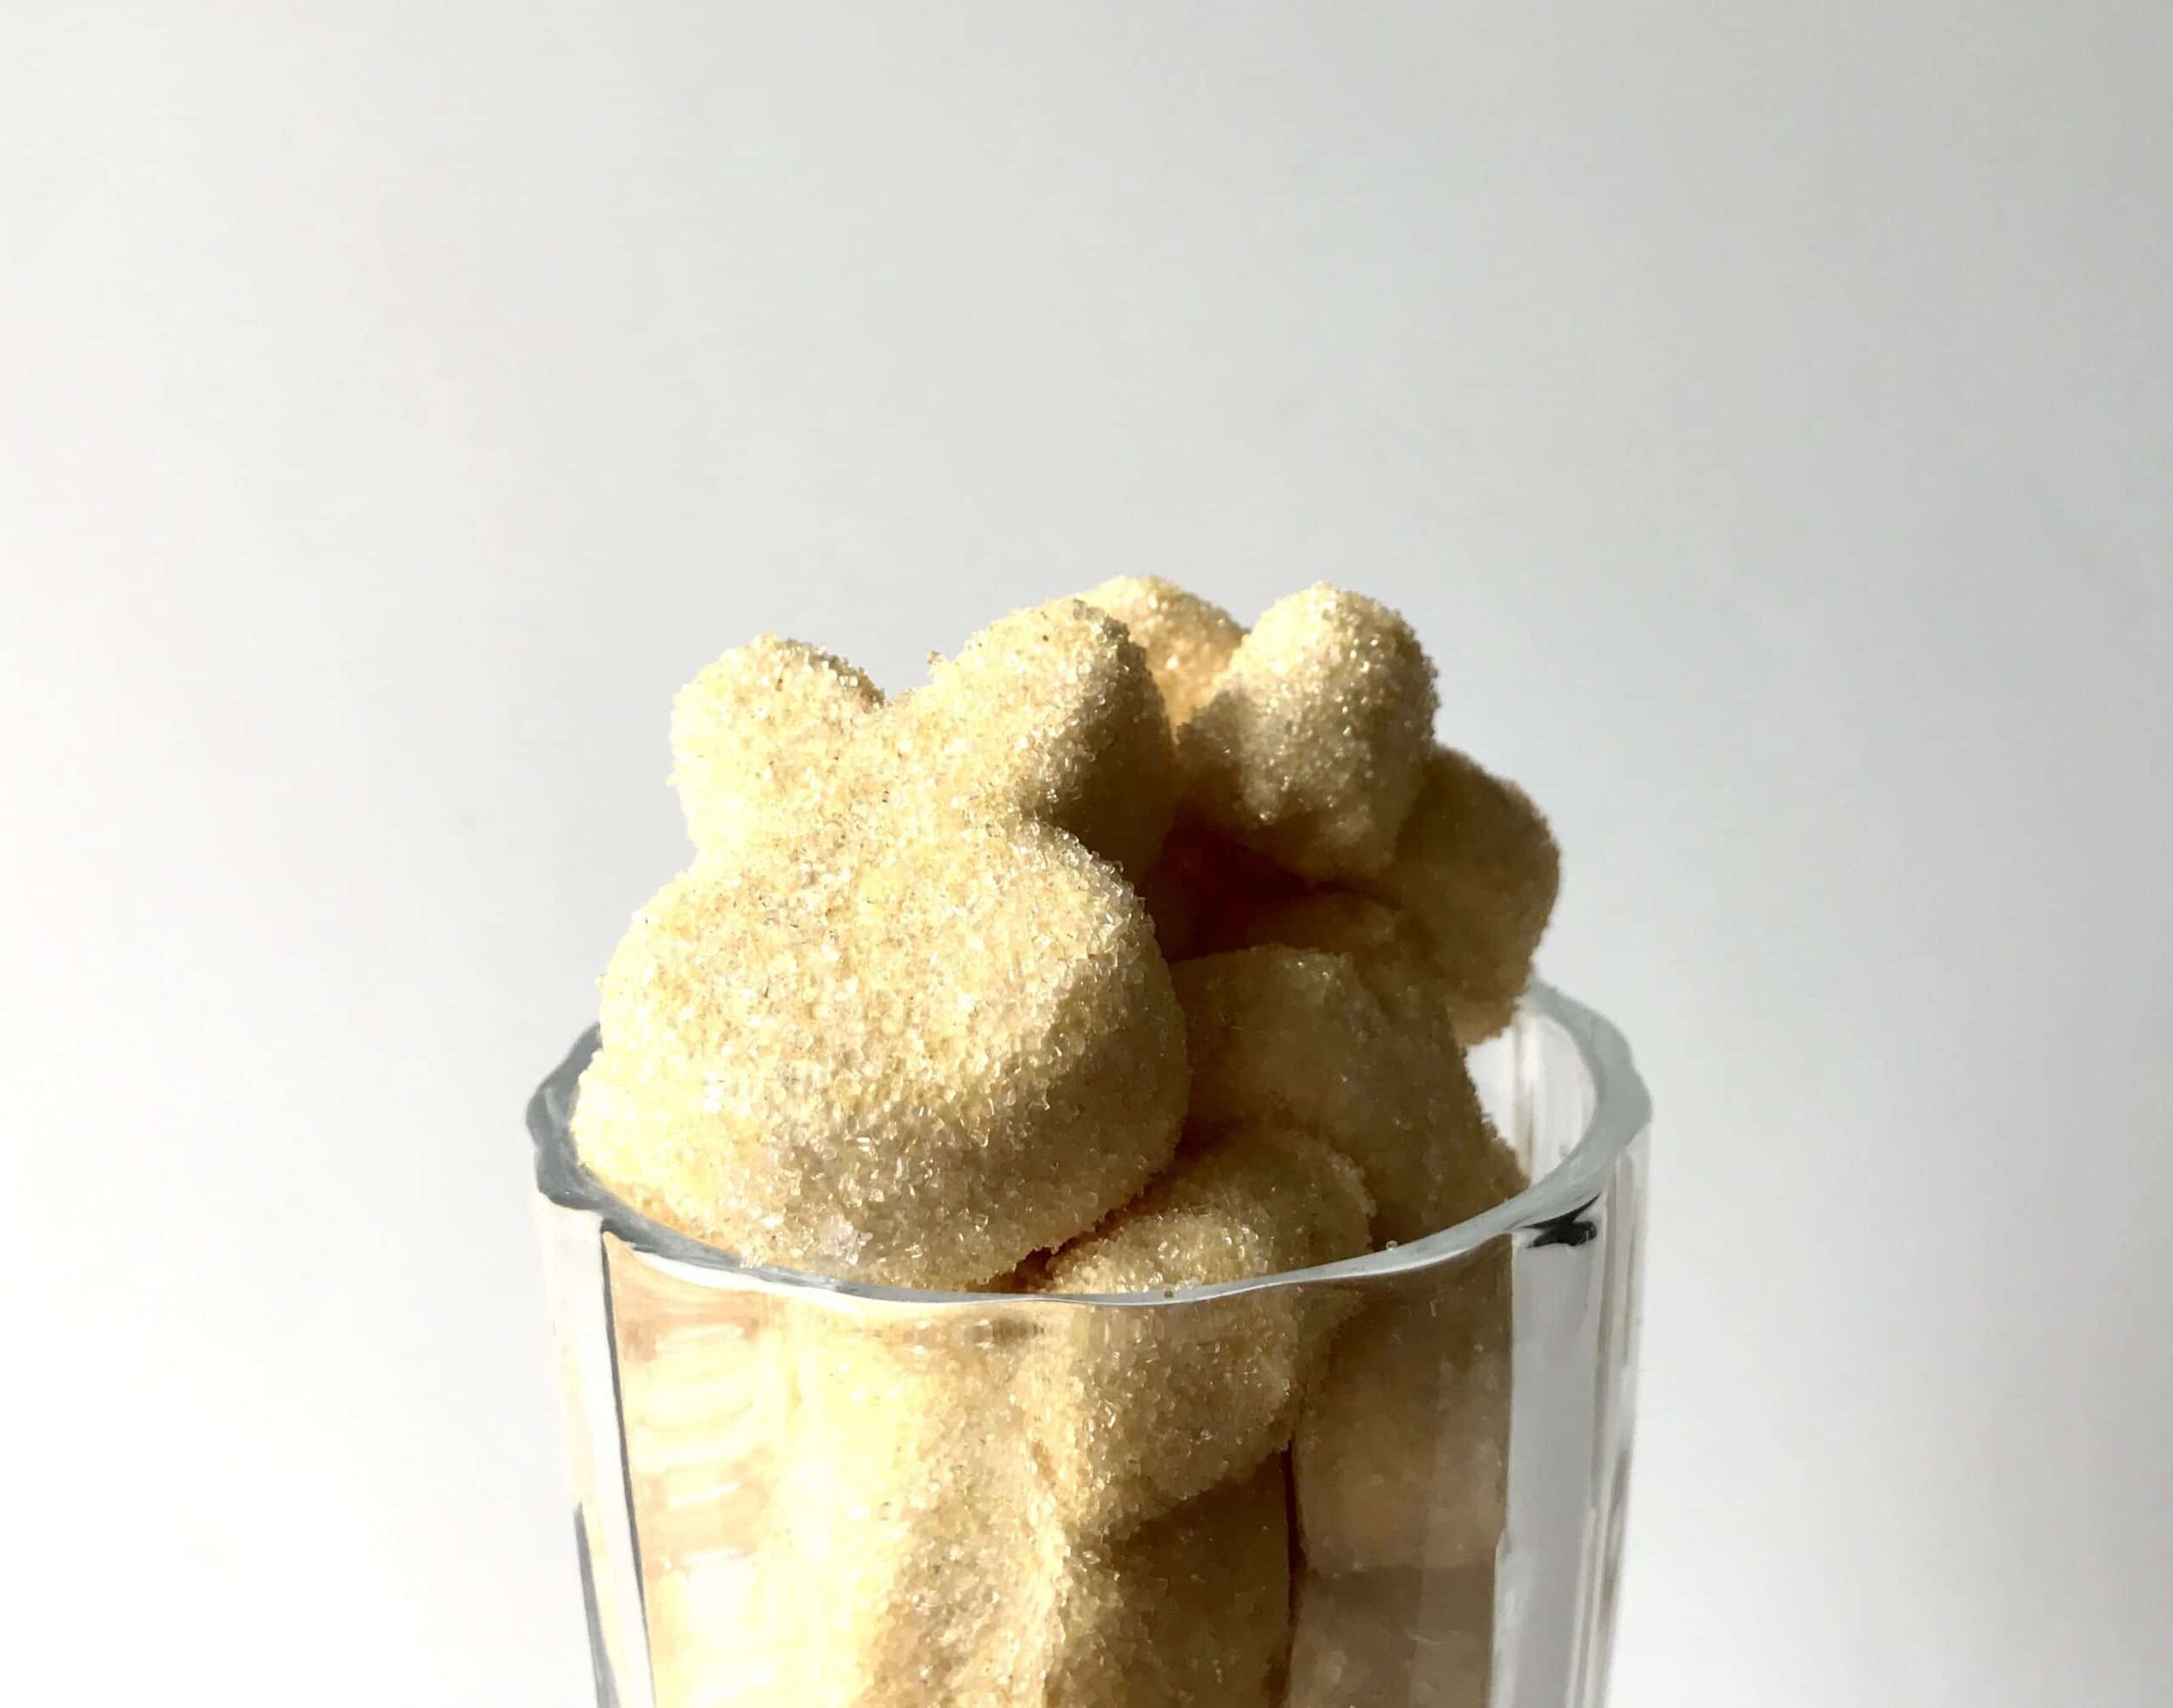
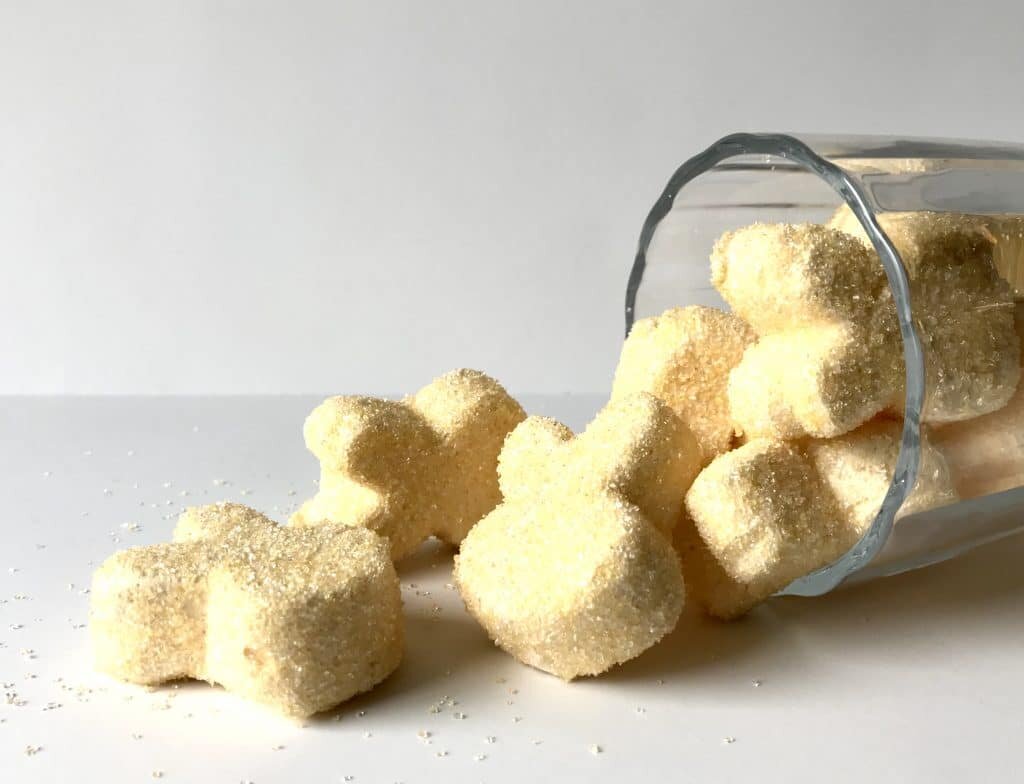
mango orange peeps

a chewy sugary treat that's made with mangoes and fresh orange juice.
- 1 cup mango (fresh or frozen)
- 1 large lemon or orange (zested and juiced)
- 2 tbsp powdered gelatin
- 1/2 cup mango orange puree
- 1 tsp vanilla
- 1 cup granulated sugar
- 1/2 cup corn syrup
- 1/4 cup mango orange puree (add water if it doesn't equal a 1/4 cup)
- pinch salt
- food color (optional)
- colored sanding sugar for decoration
- place the mango, zest and juice into a blender and blend until smooth. strain through a fine mesh sieve.
- place the 1/2 cup puree, vanilla and gelatin in the bowl of an electric mixer fitted with a whisk attachment and let sit until the gelatin blooms. in the mean time place the sugar, corn syrup, salt and remaining 1/4 cup puree into a small pot with a candy thermometer. put over high heat and bring to a boil until it reaches 240 degrees, or softball stage. turn the mixer on low speed and slowly pour the hot sugar into the gelatin mixture. increase the speed and whip until the bottom of the bowl is cool to the touch and the mixture is light and fluffy, about 10 minutes. spray the bottom of a pan with non-stick spray and then pour the marshmallow into the pan. (i used this cute bunny mold and piped the marshmallow in) sprinkle with the colored sanding sugar and let sit until the marshmallow is set, preferably overnight. cut into pieces and sprinkle with more colored sugar around the sides and enjoy.
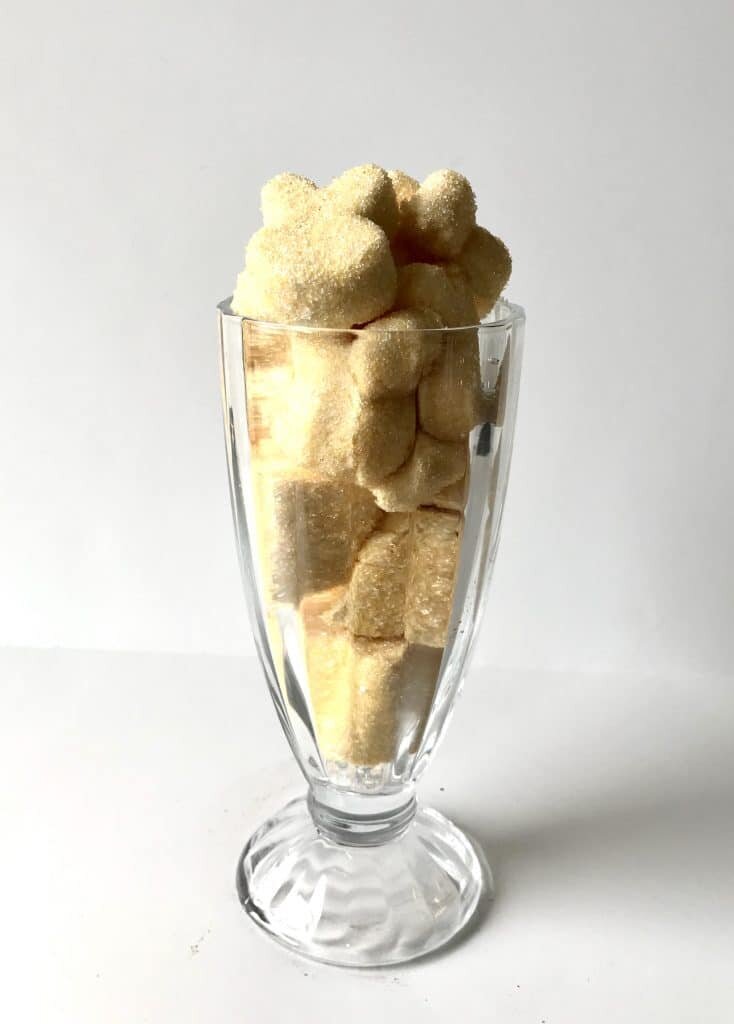
Coconut Truffles
[wprm-recipe-jump]
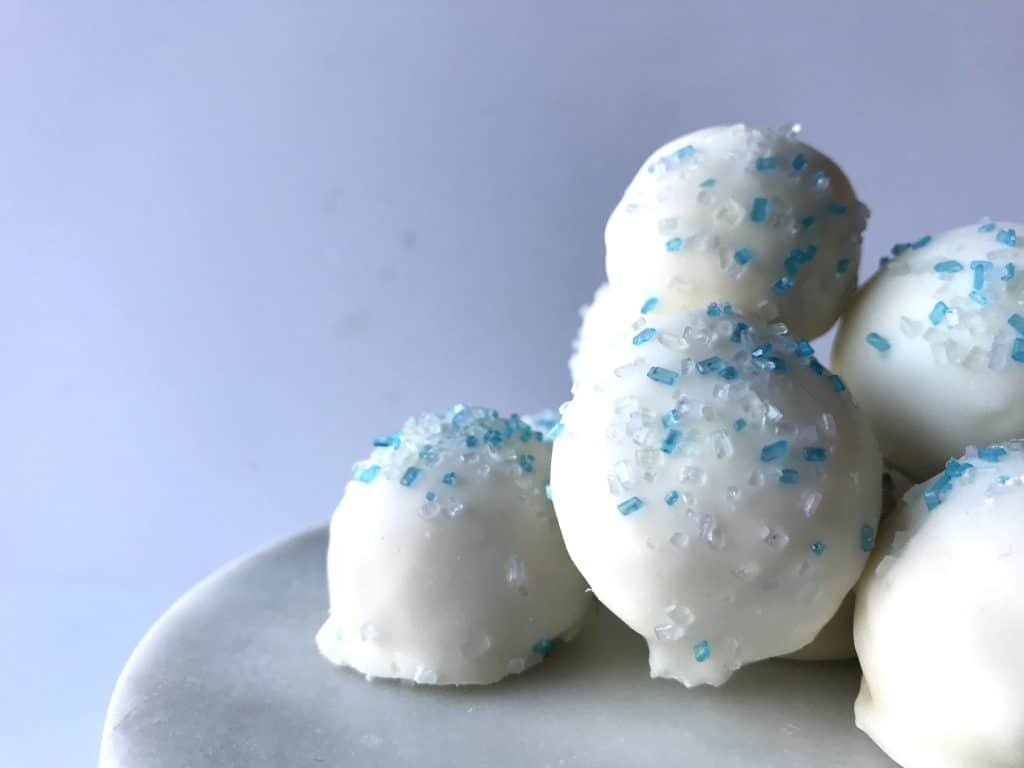
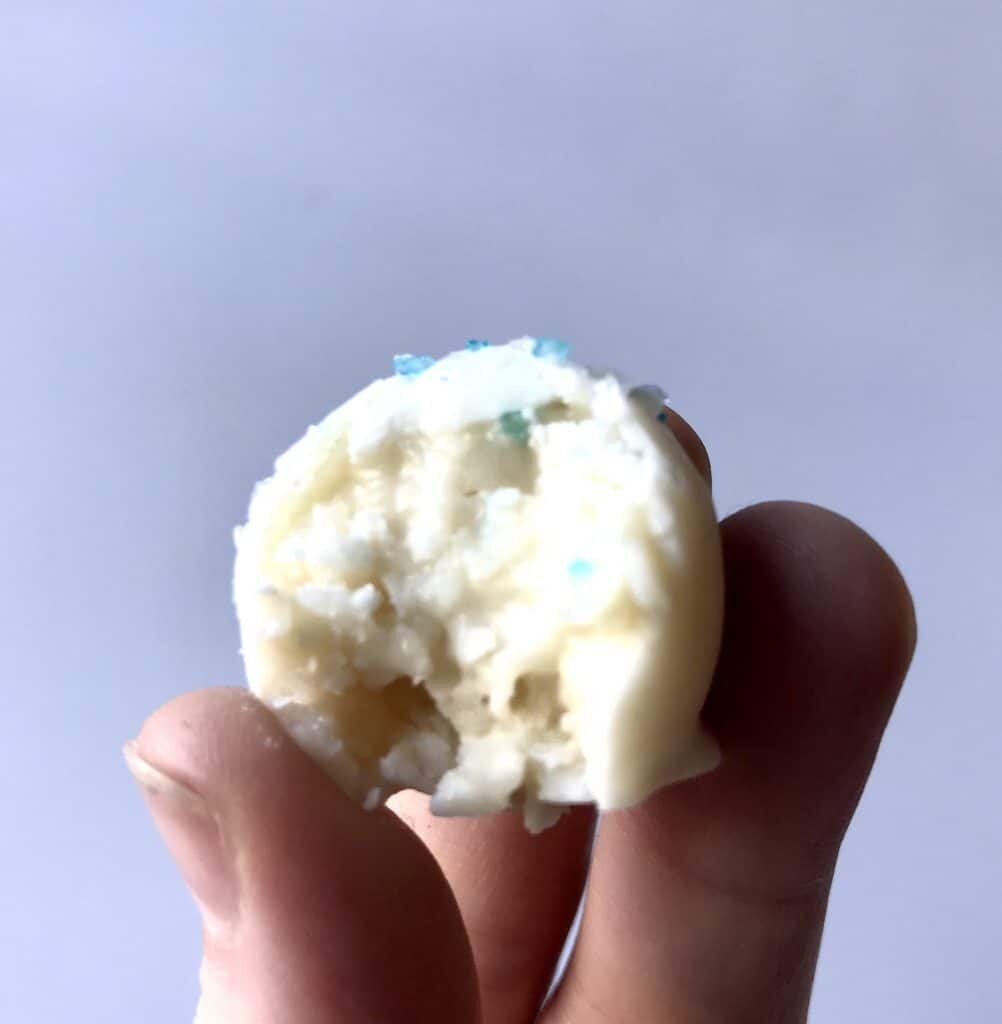
*Disclaimer: This post contains affiliate links. To learn more, please go here.These little coconut truffles are little bites of heaven. They aren't to terribly sweet, bite sized, and just delicious that you will want to eat all of them in one sitting. They are also incredibly easy to make! all you have to do is throw everything into a food process, mix it all up, chill and dip into white chocolate. Then stuff your face of course with all of the coconut truffles.Want to have some fun with these coconut truffles? Add some mini chocolate chips or freeze dried strawberries into the mix and give it some extra flavor. If you want some crunch you could add in some nuts, like some chopped almonds or pistachios! Not a big fan of white chocolate? Use dark or milk chocolate coating instead and make it the way that you want it to be.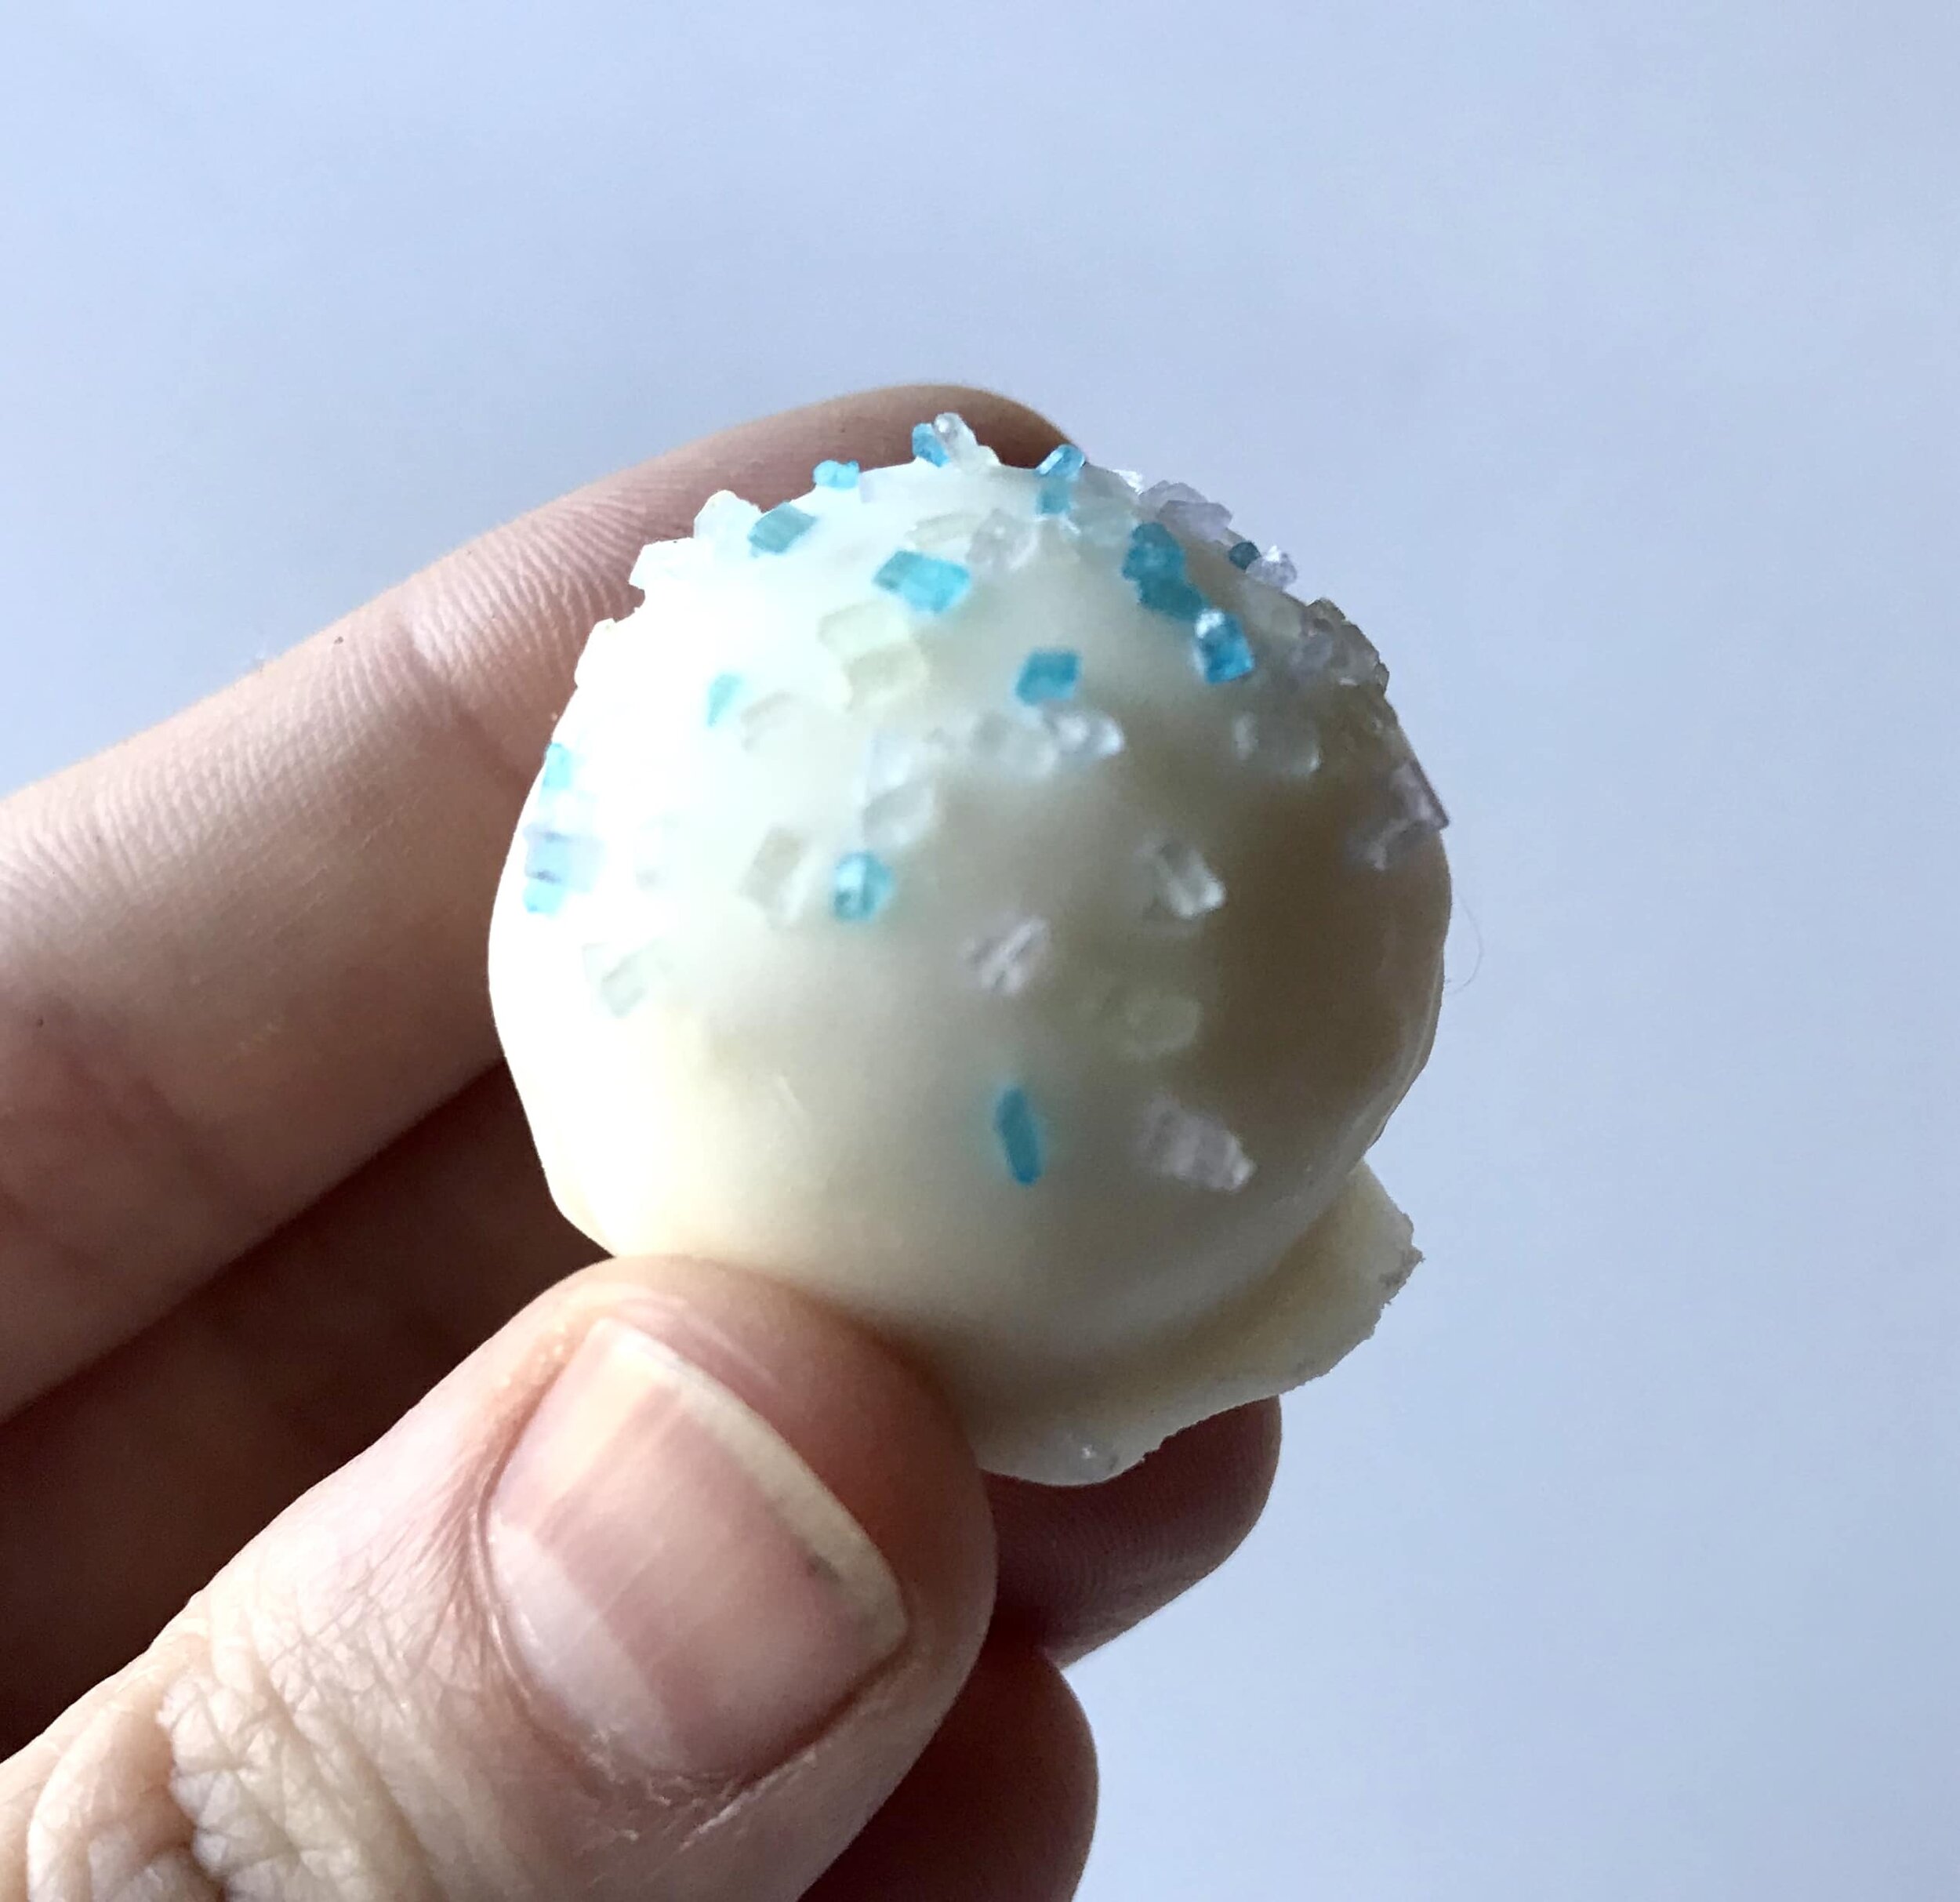
[mailerlite_form form_id=1]
Above are some products that I personally use and recommend for this recipe and to have for everyday use. You'll definitely want a mini cookie scoop for this project. It an get a little messy and it will also ensure that each truffle is the same size.
________________________________________________________________________________
coconut truffles

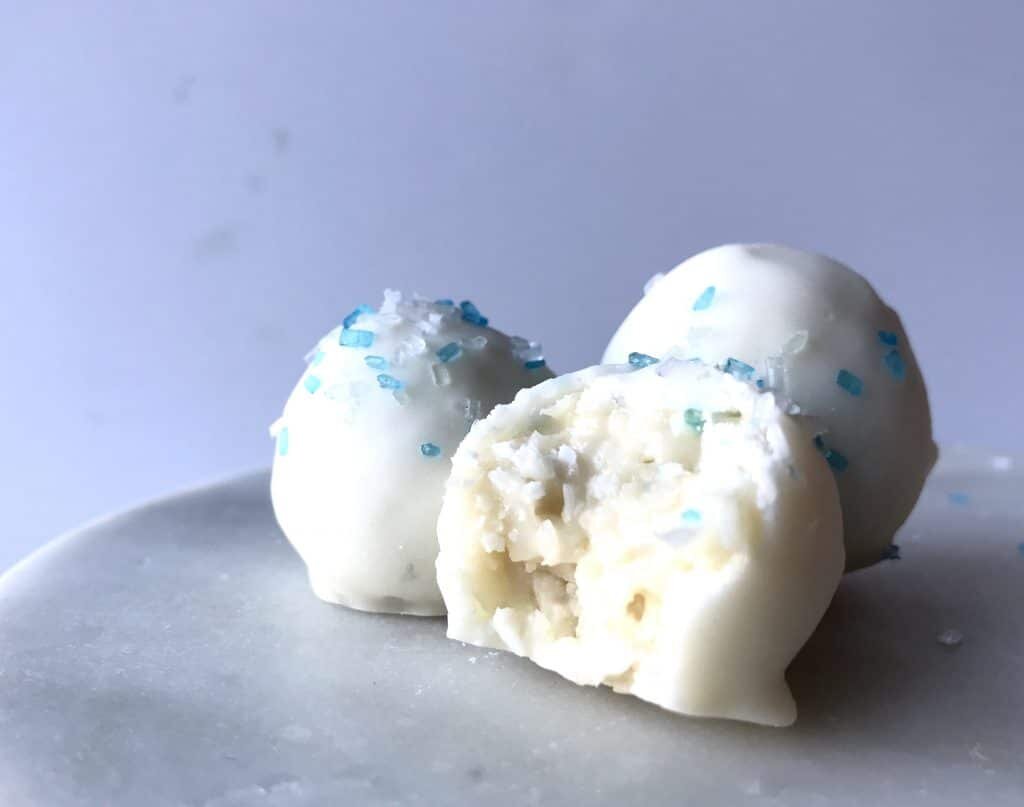
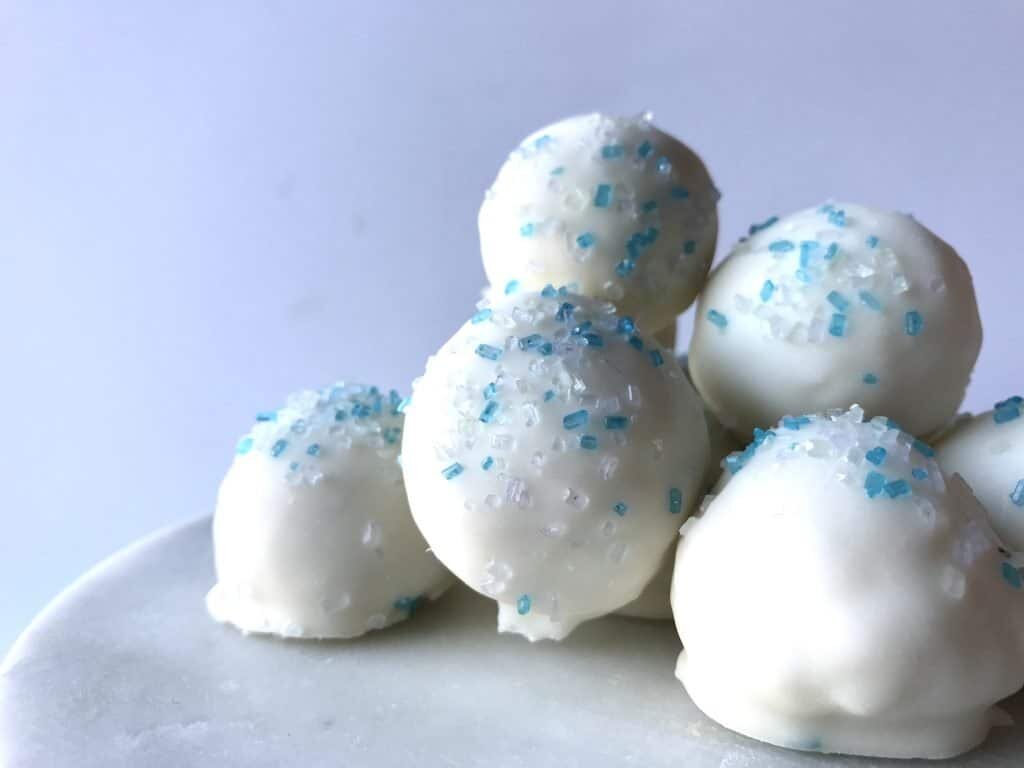
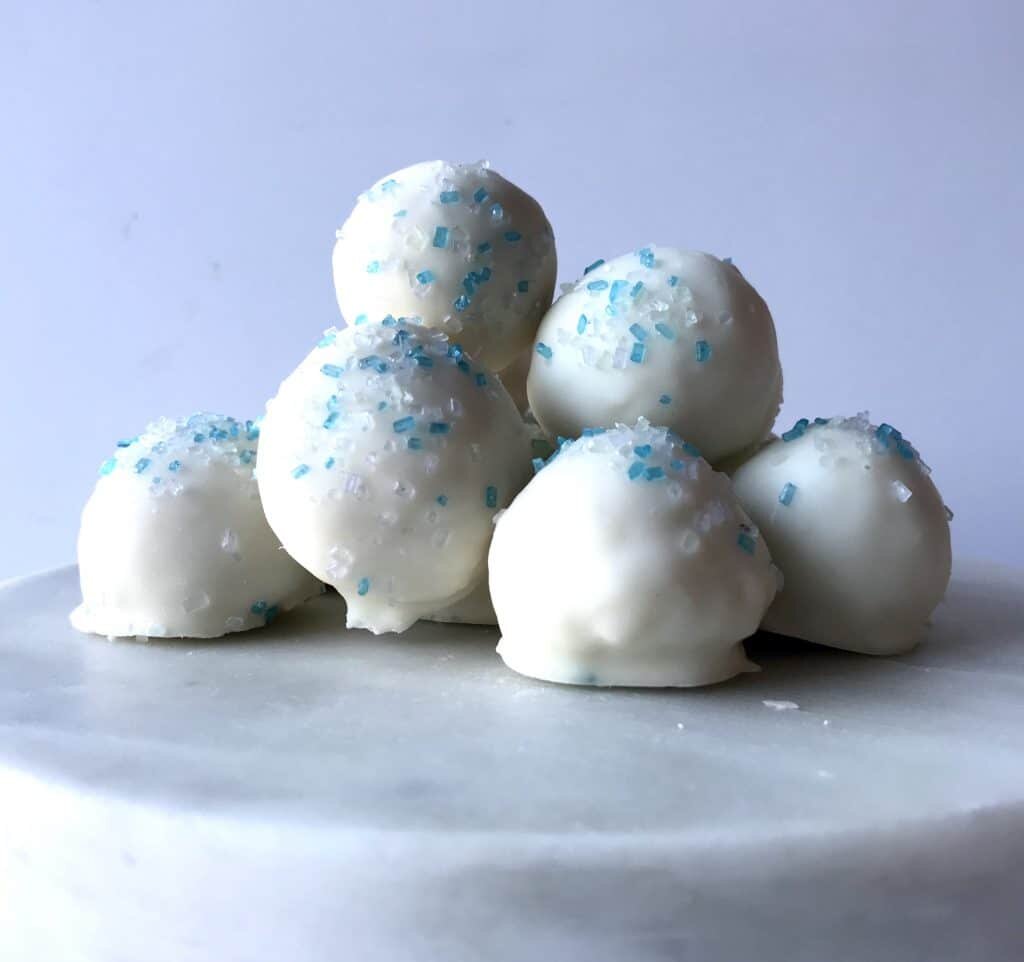
a creamy coconut truffle filling that is coated in a white chocolate
- 1/2 cup sweetened condensed milk
- 2 cup shredded coconut
- 1 cup powdered sugar
- 1 tsp vanilla extract
- pinch salt
- white candy coating
- sprinkles (optional)
- place the sweetened condensed milk, coconut, powdered sugar, vanilla and salt into a food processor and pulse until everything comes together and the coconut is in smaller pieces. transfer to a bowl and cover with plastic wrap and then place into the fridge for about an hour to firm up. once firm, take a small cookie scoop and form little balls. place into the freezer to make them solid. melt the white candy coating and then dip the frozen coconut candy and then top with sprinkles. let set.


Dragon Chocolate Bars

*Disclaimer: This post contains affiliate links. To learn more, please go here.
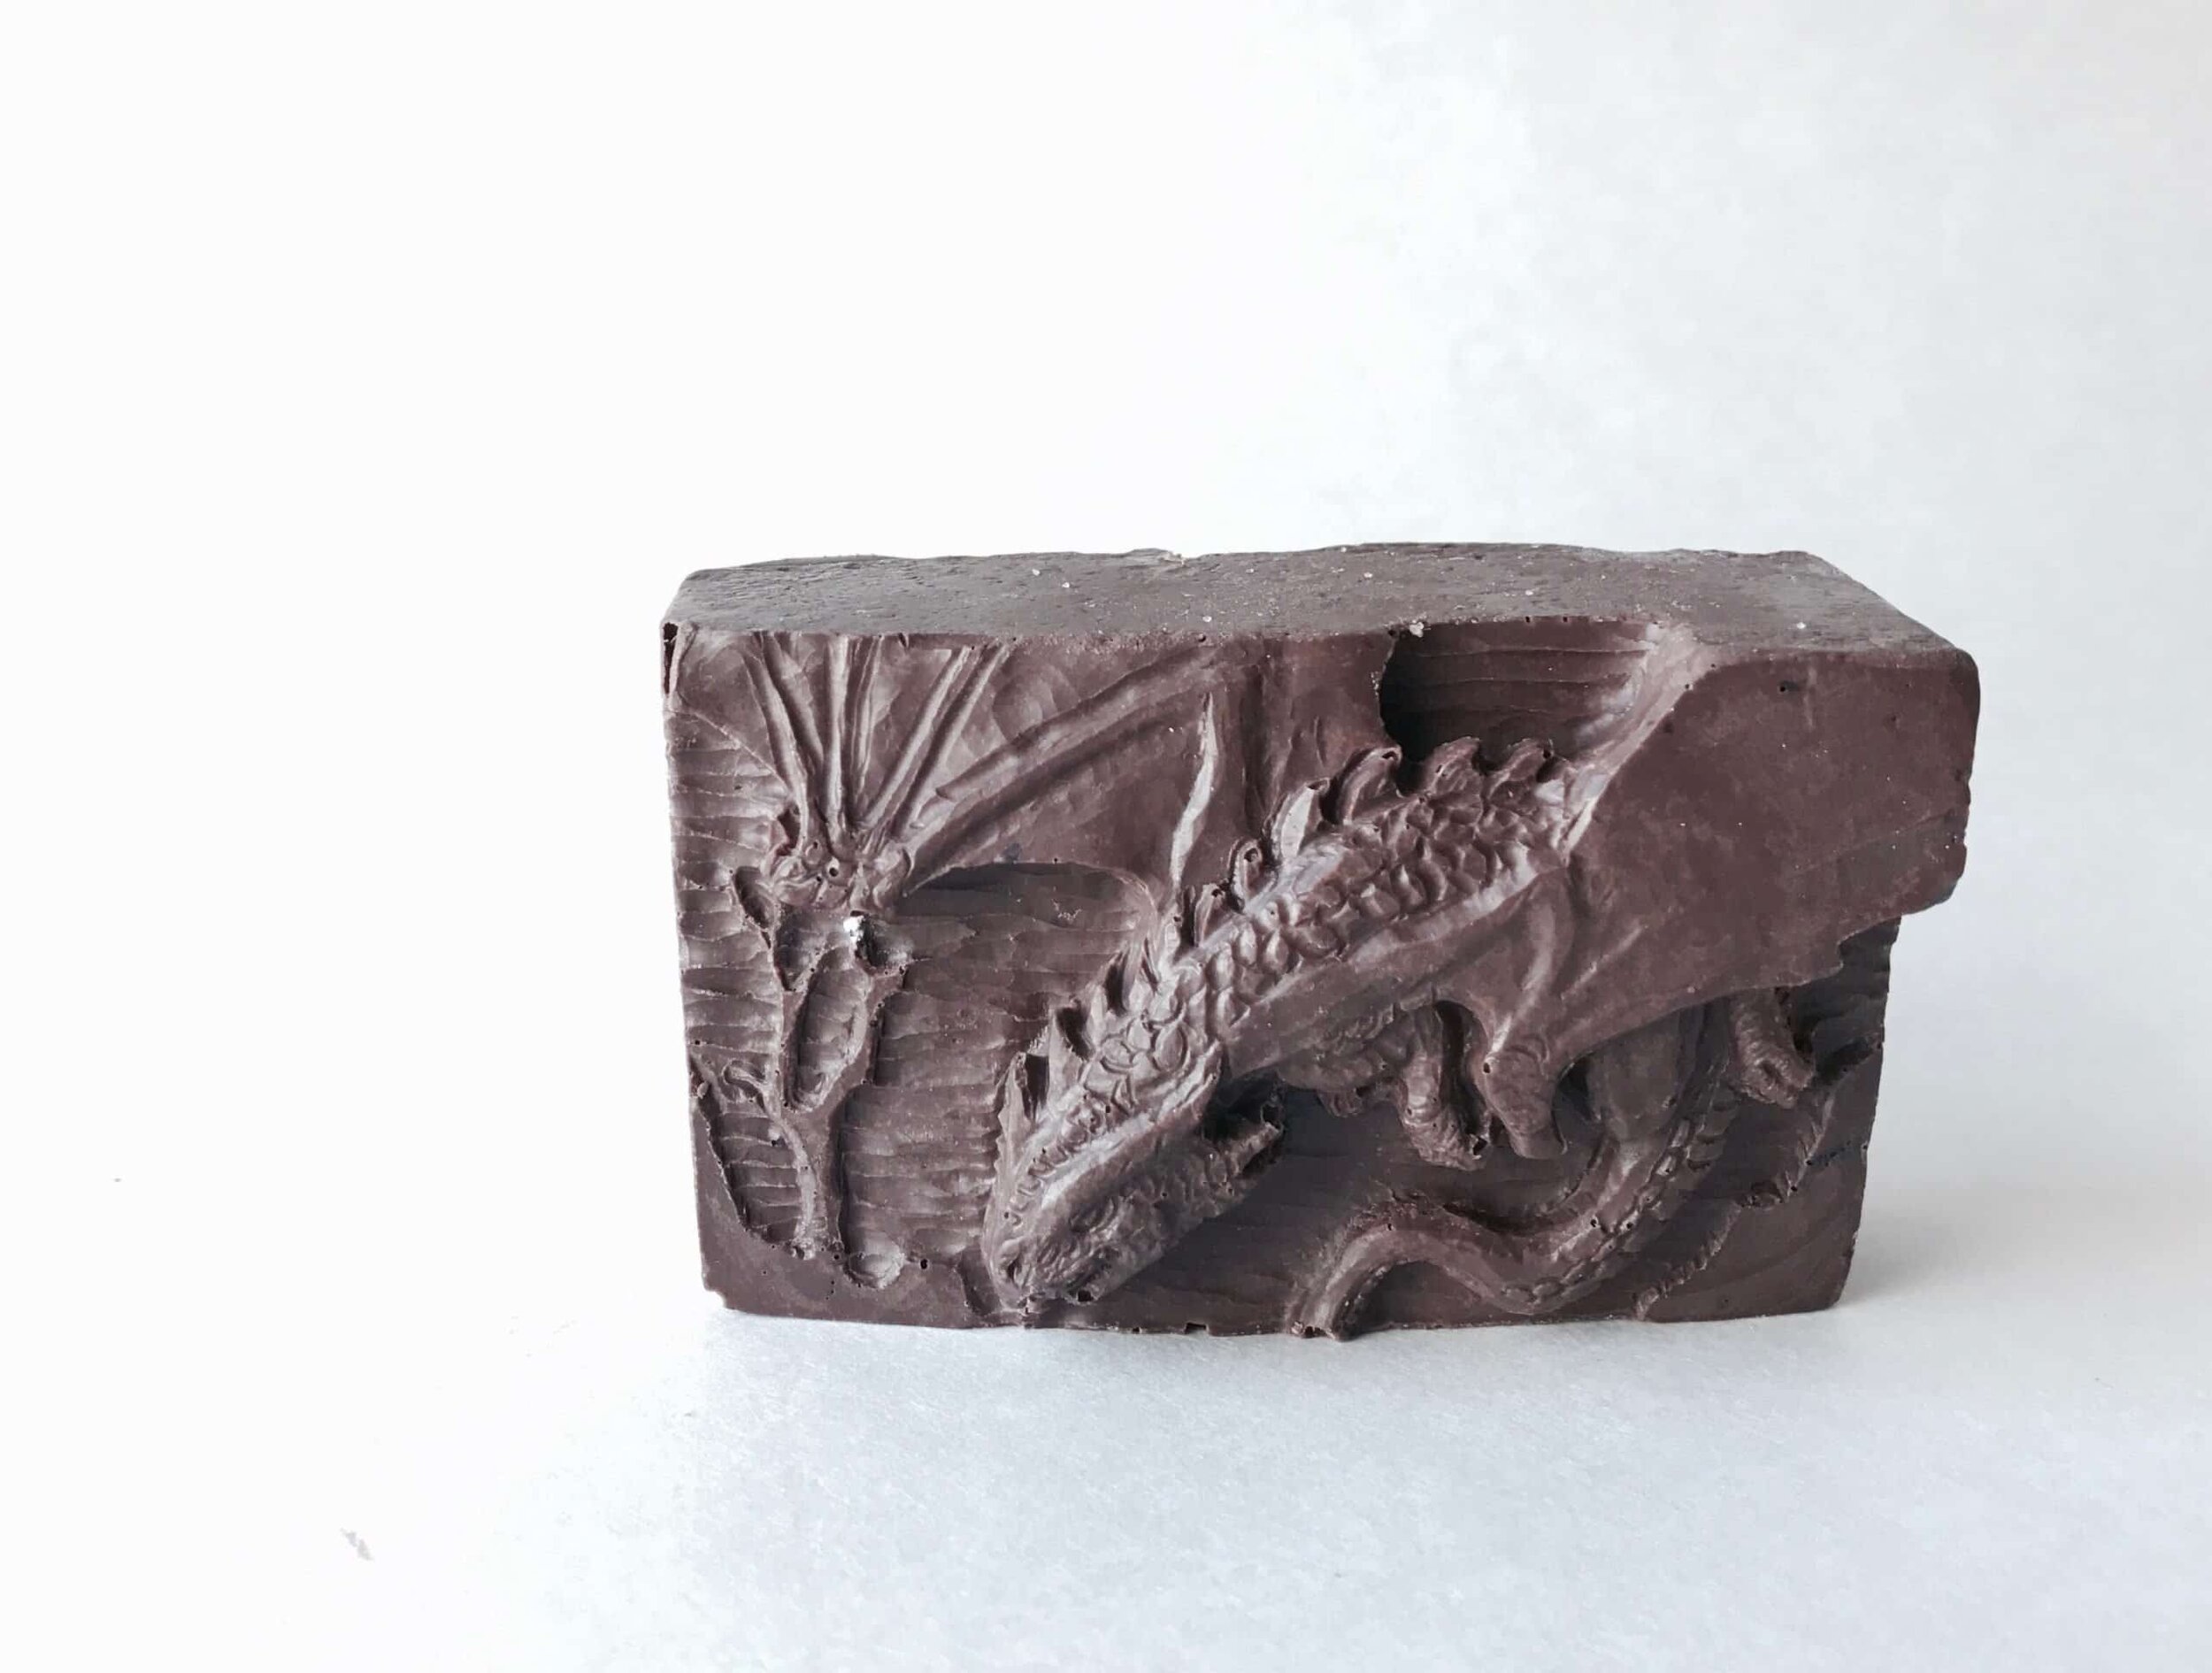
Mmmm, chocolate! I love chocolate, but playing with it can be such a messy situation. The only way I think that it would be fun is with super fun molds to use it with. Like these dragon molds that made these dragon chocolate bars!
I found these super cool molds on Etsy. There are so many fun homemade things on that website. It's fun to see how other's can be so creative and in turn use their products to make something of your own. Originally these molds were for soap! Really any kind of mold can be used for food, but always make sure to ask if the silicone they use to make the molds are food safe. It wouldn't be great to find out the mold you purchased isn't supposed to be used for food and could contain harmful chemicals. No one wants to consume chemicals when they eat chocolate.
When I made these I was at my parent's house back in North Dakota, and the town grocery store is super small with hardly anything to choose from. Meaning that these dragon chocolate bars were pretty basic with only using good ole' almond bark chocolate, peanut butter, and a caramel filling. They were so fun to make though and I can't wait to find other fun molds to use and try other flavor combos!
Fillings galore.
What makes chocolate even more fun is that you can get pretty crazy with flavor combinations. You can always stick to classic flavors like peanut butter or caramel. Or you can go out of the box and do something like cookie butter or something more fun like stuffing it with little candies like a little surprise!
I find that using nice big soap molds for chocolate can leave endless possibilities since it's so thick and big! When I made these it can literally feed 3-4 people or just one person in a few portions. It's at least a 4 serving chocolate bar.


Products I recommend.
__________________________________________________________________________
chocolate bars
- Food safe chocolate mold
- chocolate
- i used almond bark, but any kind of chocolate can be used. like candy melts in fun colors!
- fillings
- peanut butter
- caramel
- ganache
- coconut filling
- cookie butter
- almond butter
- little candies
- marshmallow fluff
- nuts
Start by melting the chocolate. I find it easier to melt in a piping bag. Place the mold on a flat surface. Completely fill the mold with chocolate and then place into the freezer until the sides have become solid but the middle is still melted.
If you are using small molds, then fill them with the chocolate and then flip over to let the excess chocolate drip out. Scrape the edges and let set.
Carefully tip the excess chocolate out of the mold. Place your choice of filling in the center, but don't fill it completely to the top. Make sure you leave a little room to top with more chocolate to lock the filling in.
Put more melted chocolate on top and put into the freezer once again until completely solid. When the chocolate is solid and no longer soft, carefully remove from the mold.