Cookie Dough Mousse
[wprm-recipe-jump]
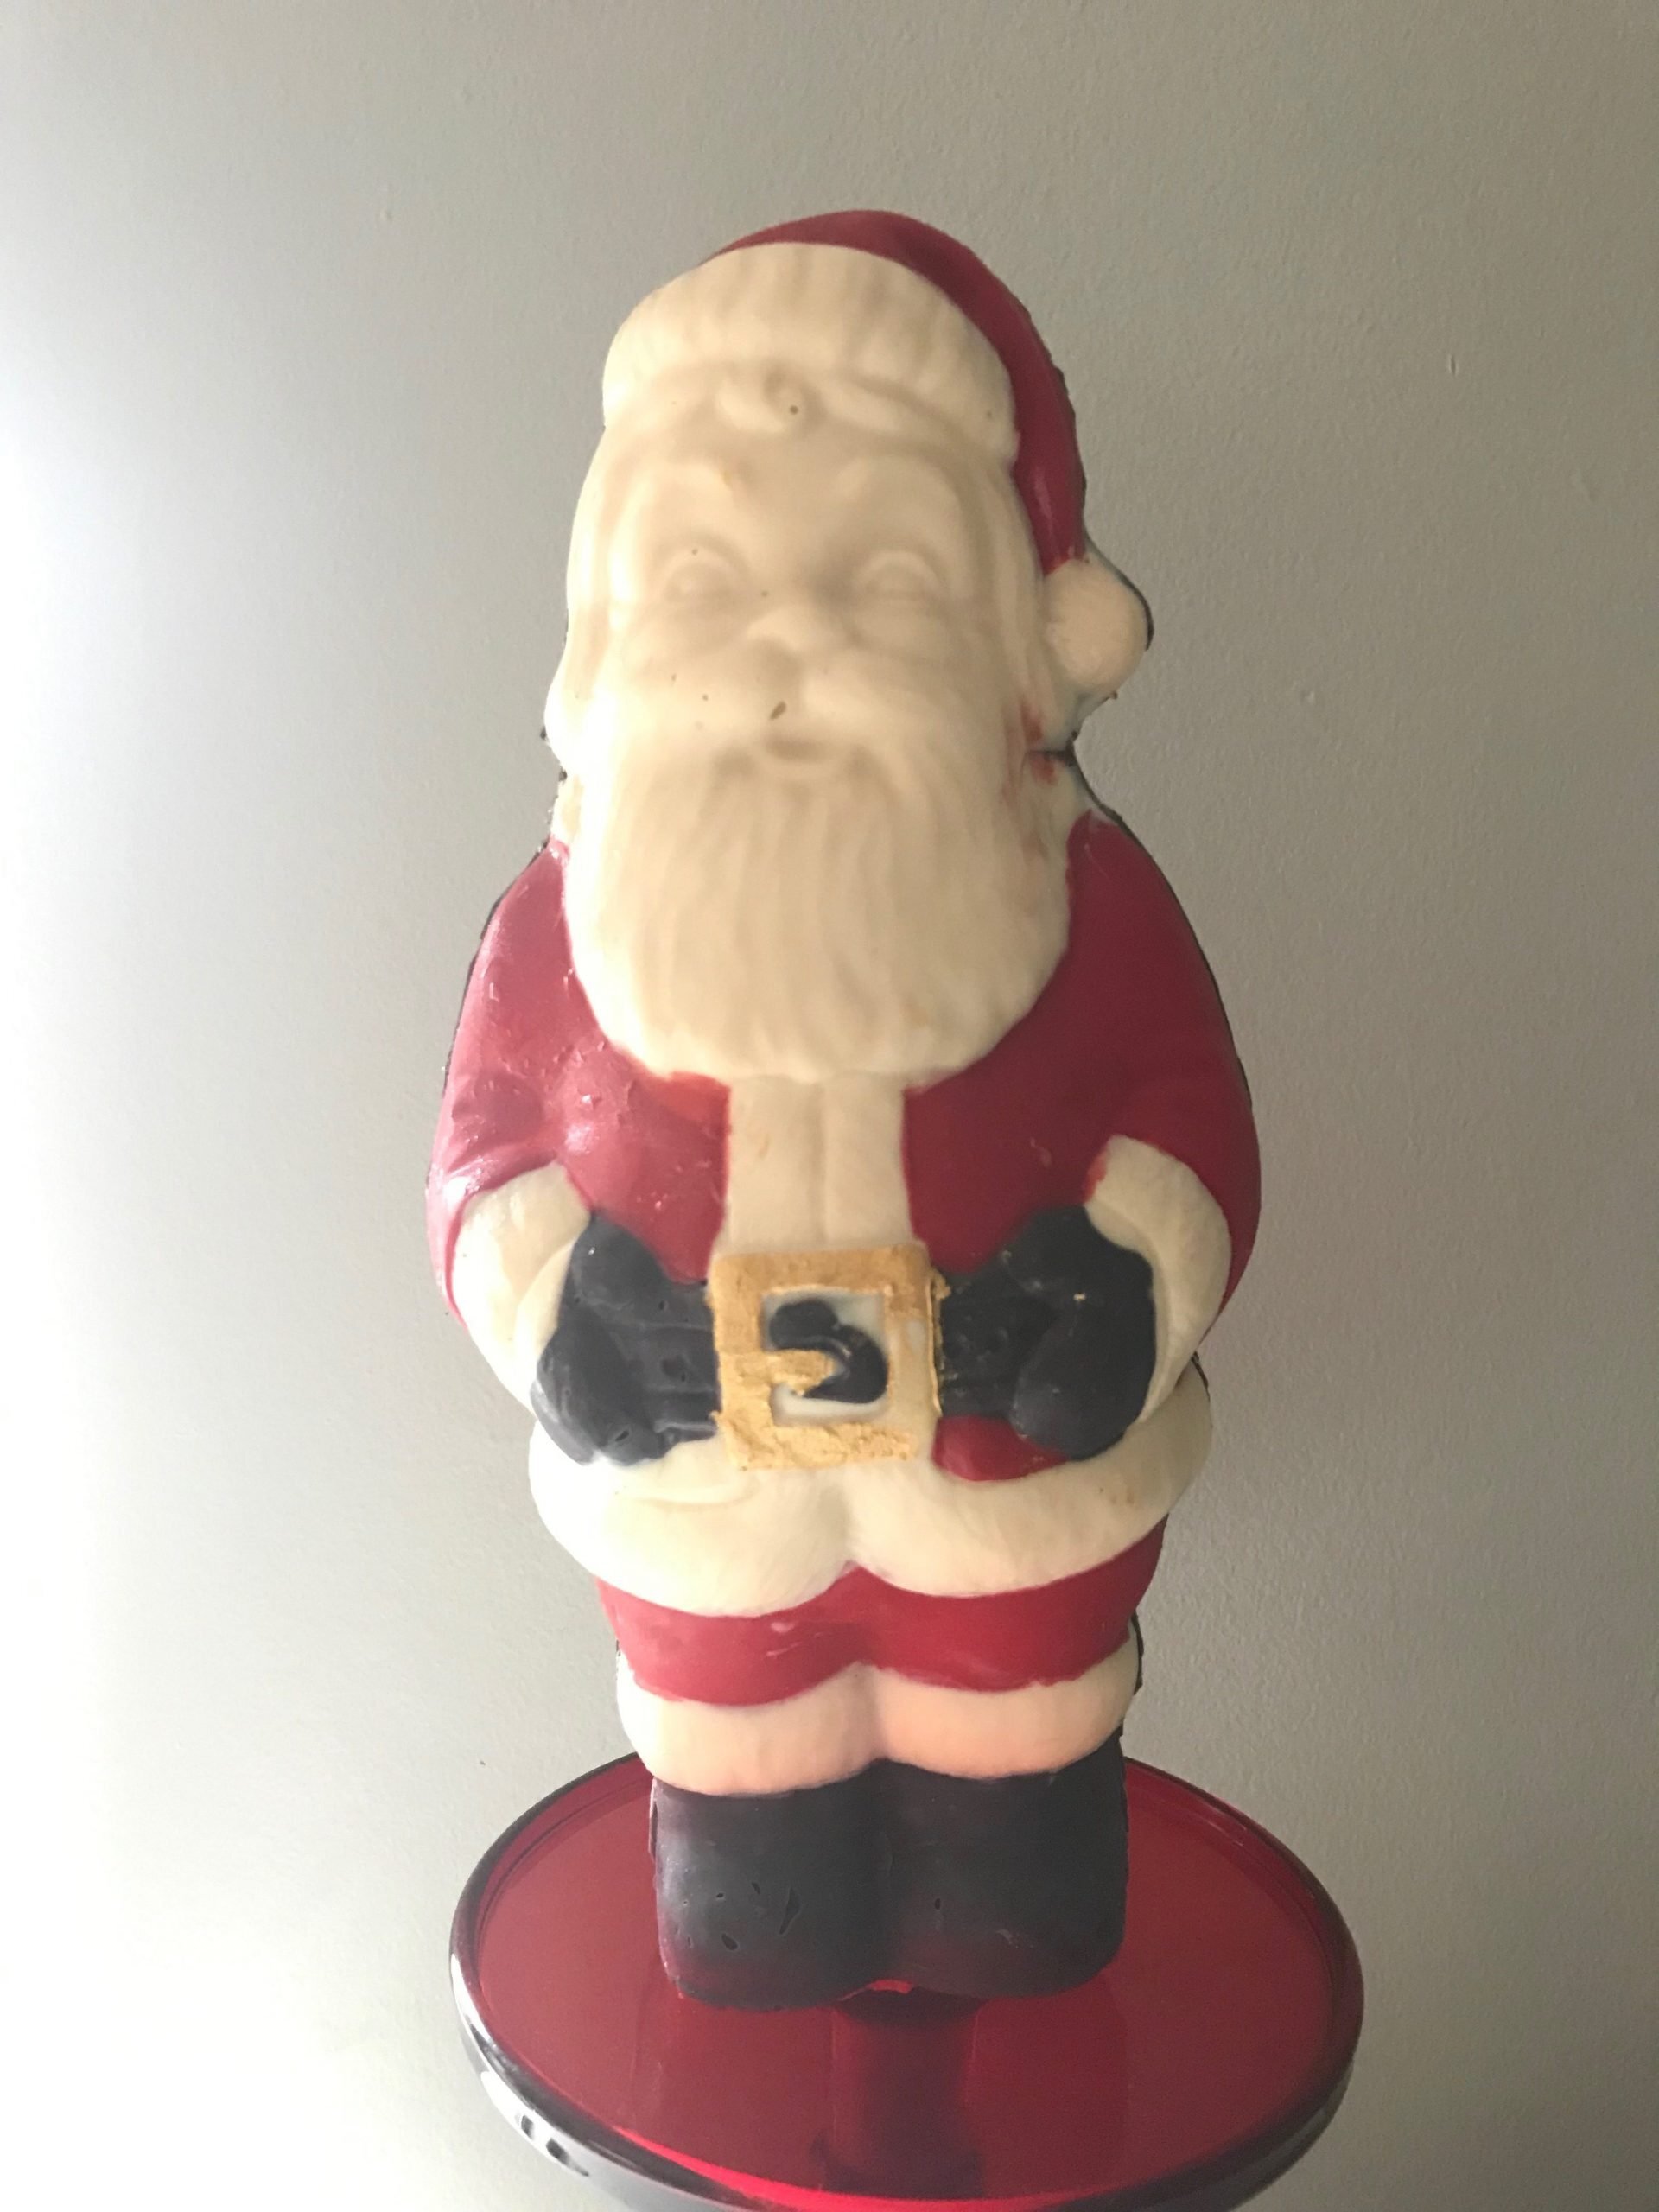
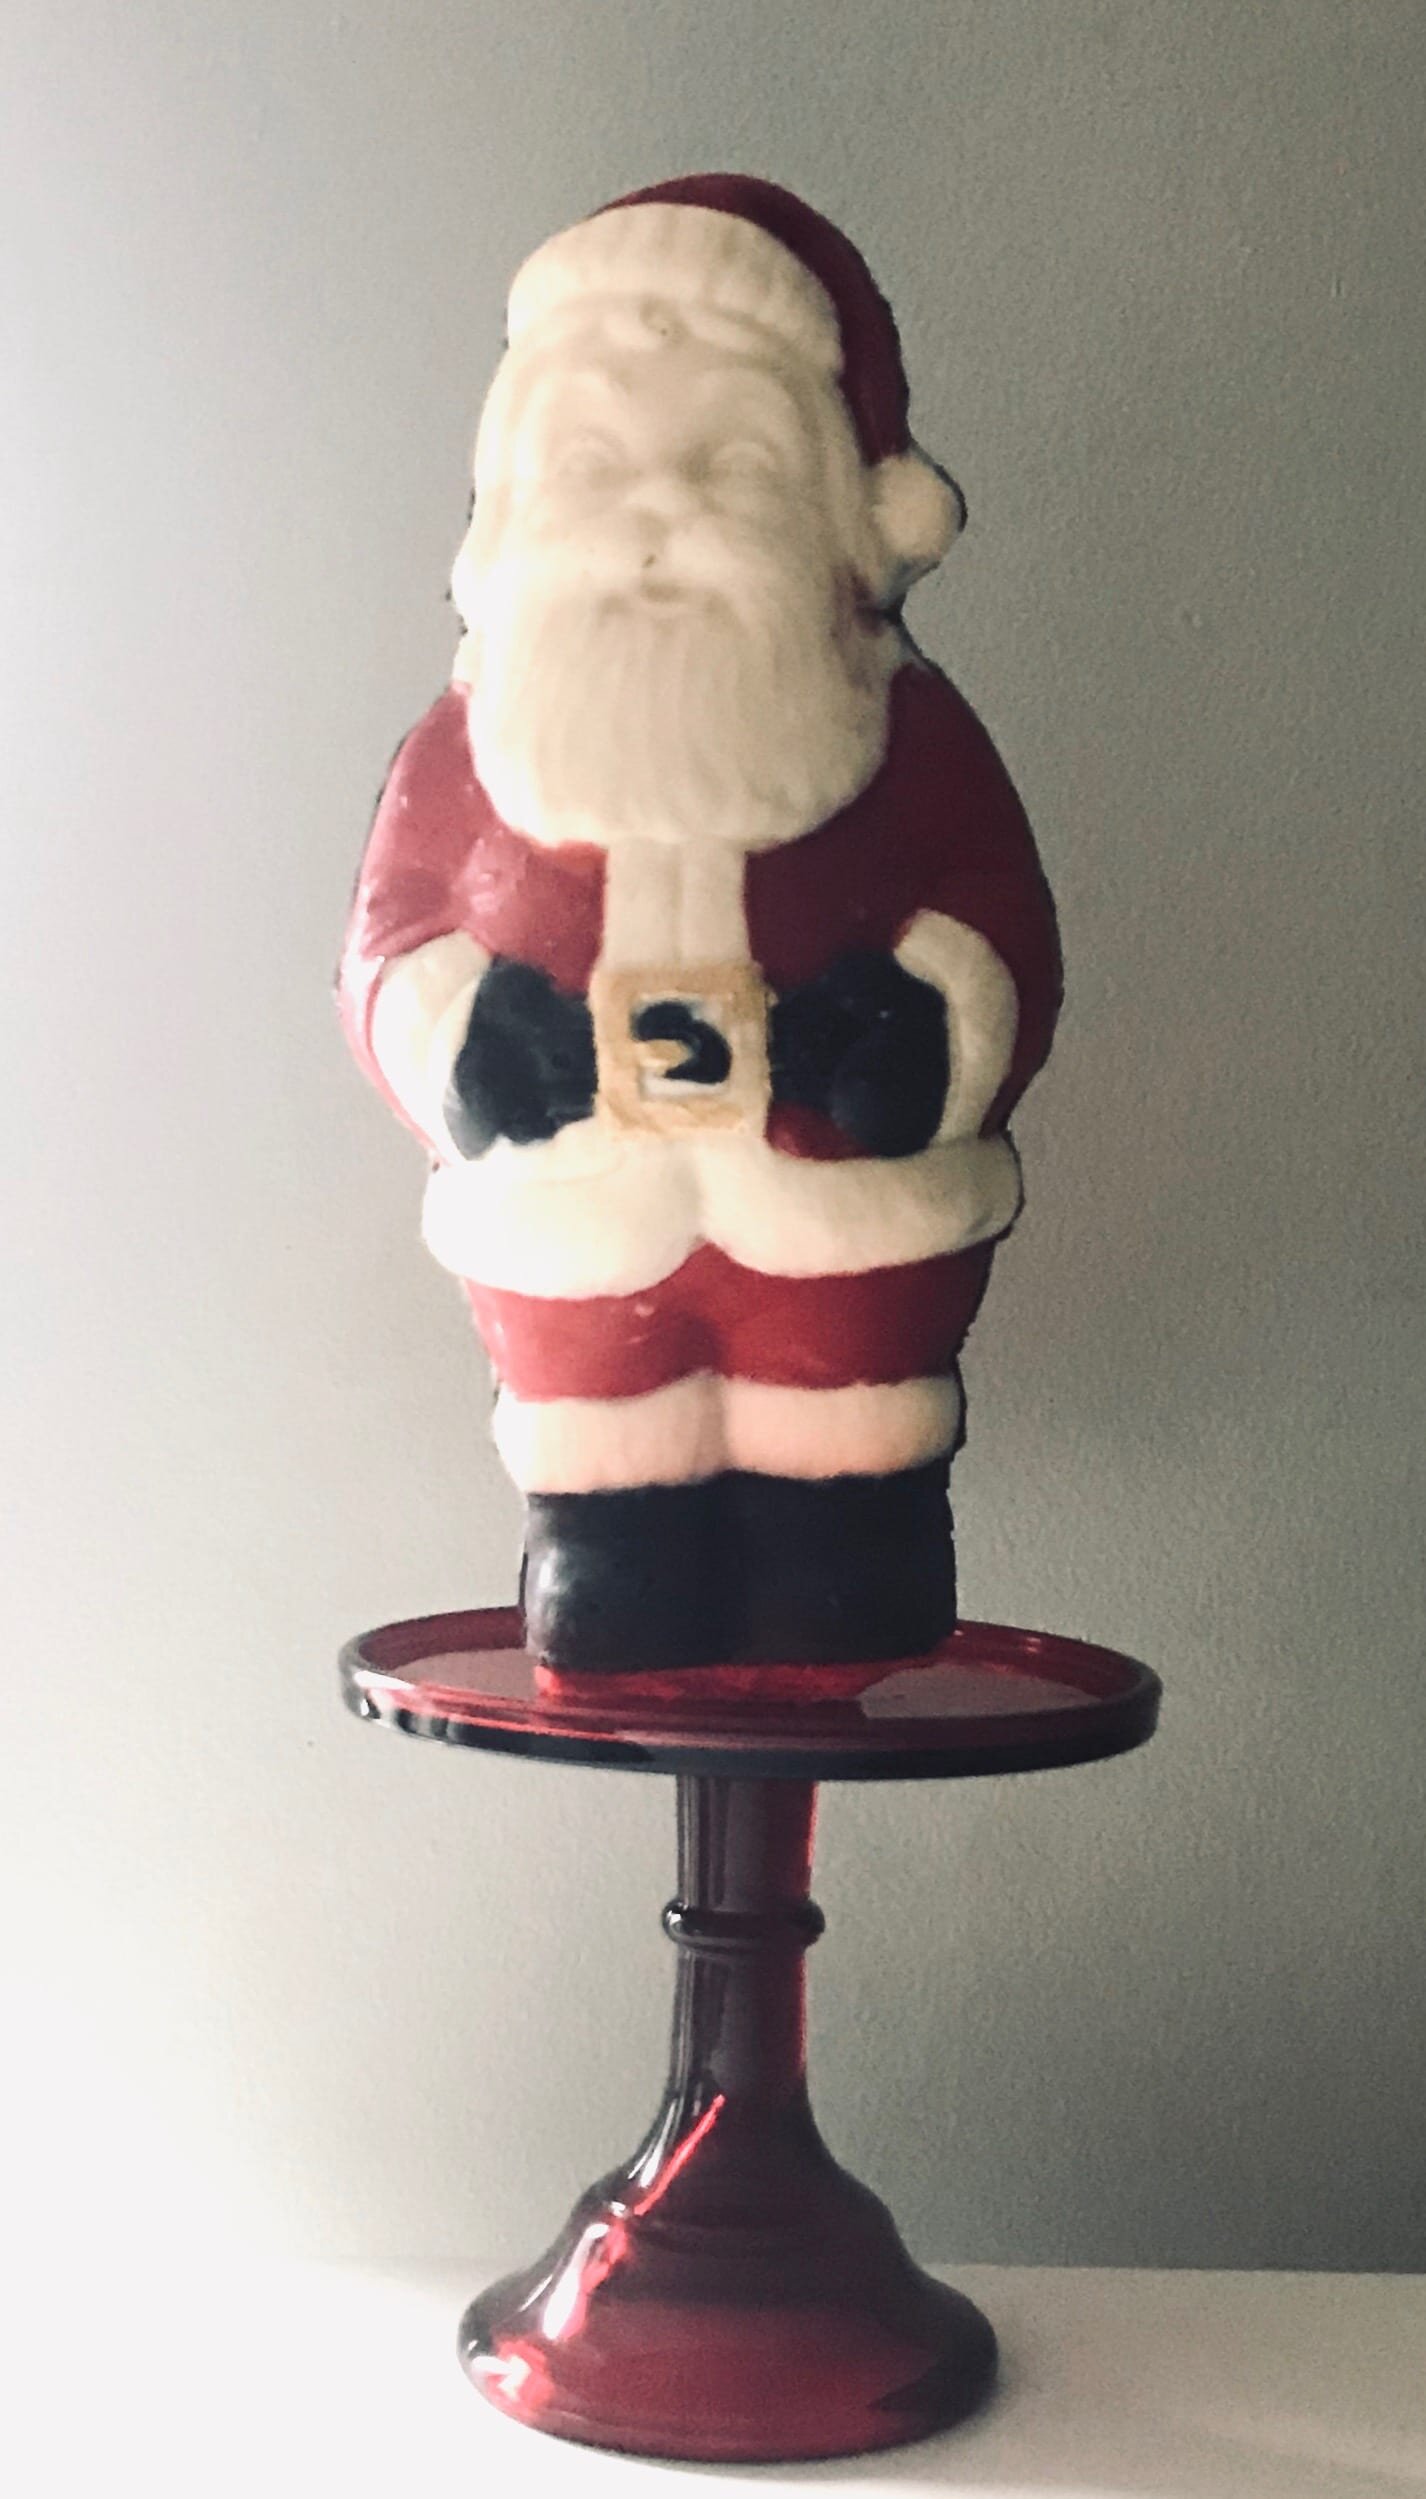
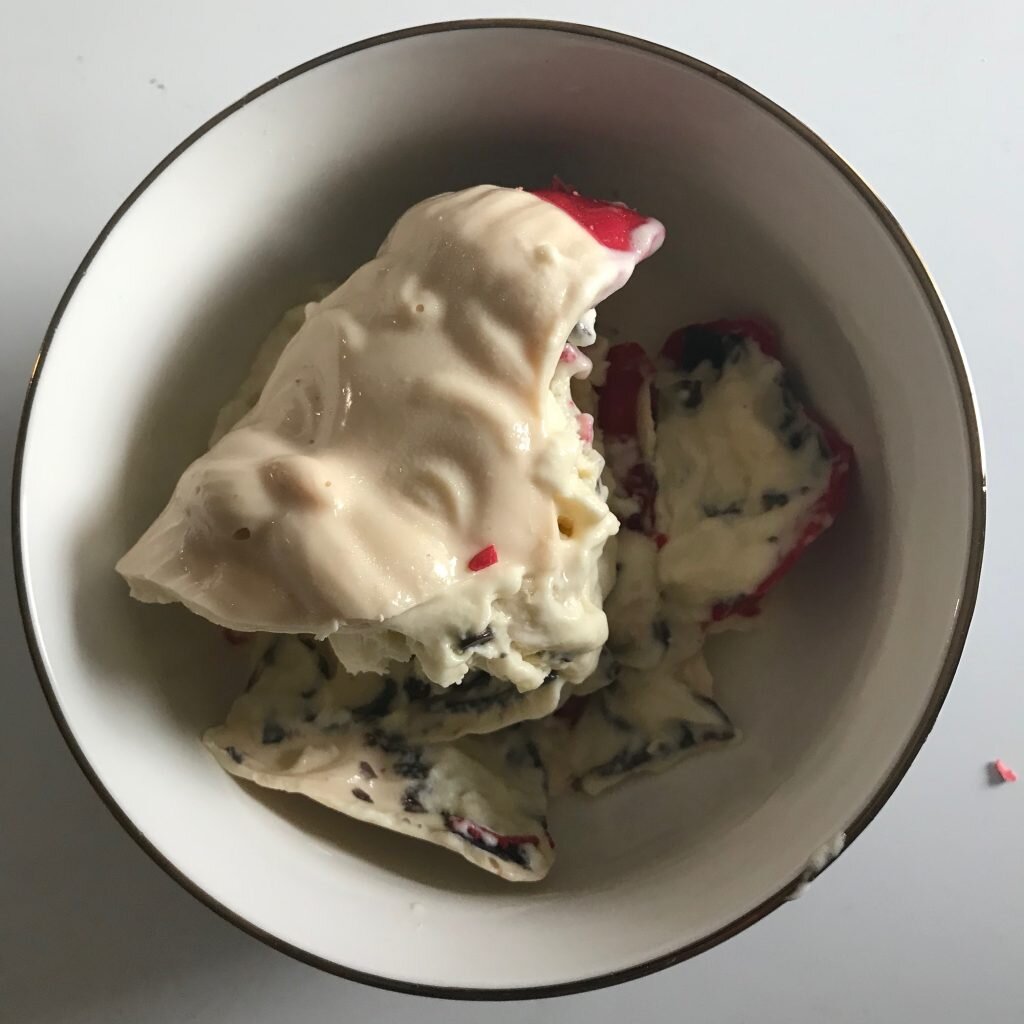
Cookies for Santa mousse dessert.
*Disclaimer: This post contains affiliate links. To learn more, please go here.
This is really the cutest most delicious thing that I've made in awhile. I found this adorable Santa chocolate mold on amazon and knew that I could have a little fun with it for a dessert. What's better than cookie dough and mousse for this??? It's definitely a project but the end result will have everyone asking you how in the world you made it.
I found the fun part to be to crack Santa open and then eating the mousse. It was still a little frozen when I tried it, but it tasted just like ice cream to me. With the cookie dough pieces in there, it was just like ice cream which makes it so good.
Change it up
For the mix-ins, I used chocolate chip cookie dough from the grocery store and some mini chocolate chips. I made a list down below of other fun options that you can use instead. Nuts or some candy bars would be great too!
Can't find the Santa mold or don't want to use it? No worries! You don't have to use a mold if you don't want to. You can easily just put the mousse into a container and serve it in a bowl if you want. The Santa shape is just for fun and a cute appeal for the holidays that both kids and adults alike will find super cute and fun.

______________________________________________________________________________
cookie dough mousse
a santa chocolate shell that is filled with a creamy vanilla mousse that is mixed with cookie dough pieces and mini chocolate chips
mousse
- 6 egg yolks
- 1 cup granulated sugar
- 1 1/2 cup milk
- 1 tbsp vanilla extract
- 2 tsp powdered gelatin
- 1 tbsp water
- 1 1/2 cup heavy cream
- 1/2 cup powdered sugar
- 1 tsp vanilla extract
mix-in options
- cookie dough
- mini chocolate chips
- chocolate candies
- sprinkles
- brownie pieces
- cake pieces
- nuts
mousse
- bloom the gelatin in the 1 tbsp of water and set aside. in the bowl of an electric mixer fitted with a whisk attachment, whip the egg yolks and granulated sugar until pale and fluffy, about 5 minutes. meanwhile, bring the milk to a boil. once hot, slowly temper into the whipped yolks. do this by pouring a little amount of the hot milk into the yolks and whisking together. keep doing this until all of the milk is added to the yolks. place the mixture over a double boiler and heat until it reaches 140 degrees F. stir in the bloomed gelatin and vanilla. place the mixture into a bowl and wrap with cling wrap and put in the fridge overnight, or until firm.
- whip the heavy cream, powdered sugar, and vanilla until stiff peaks form. add in the firm and chilled mixture and whip until fully incorporated. place into the fridge until ready to use.
assembly
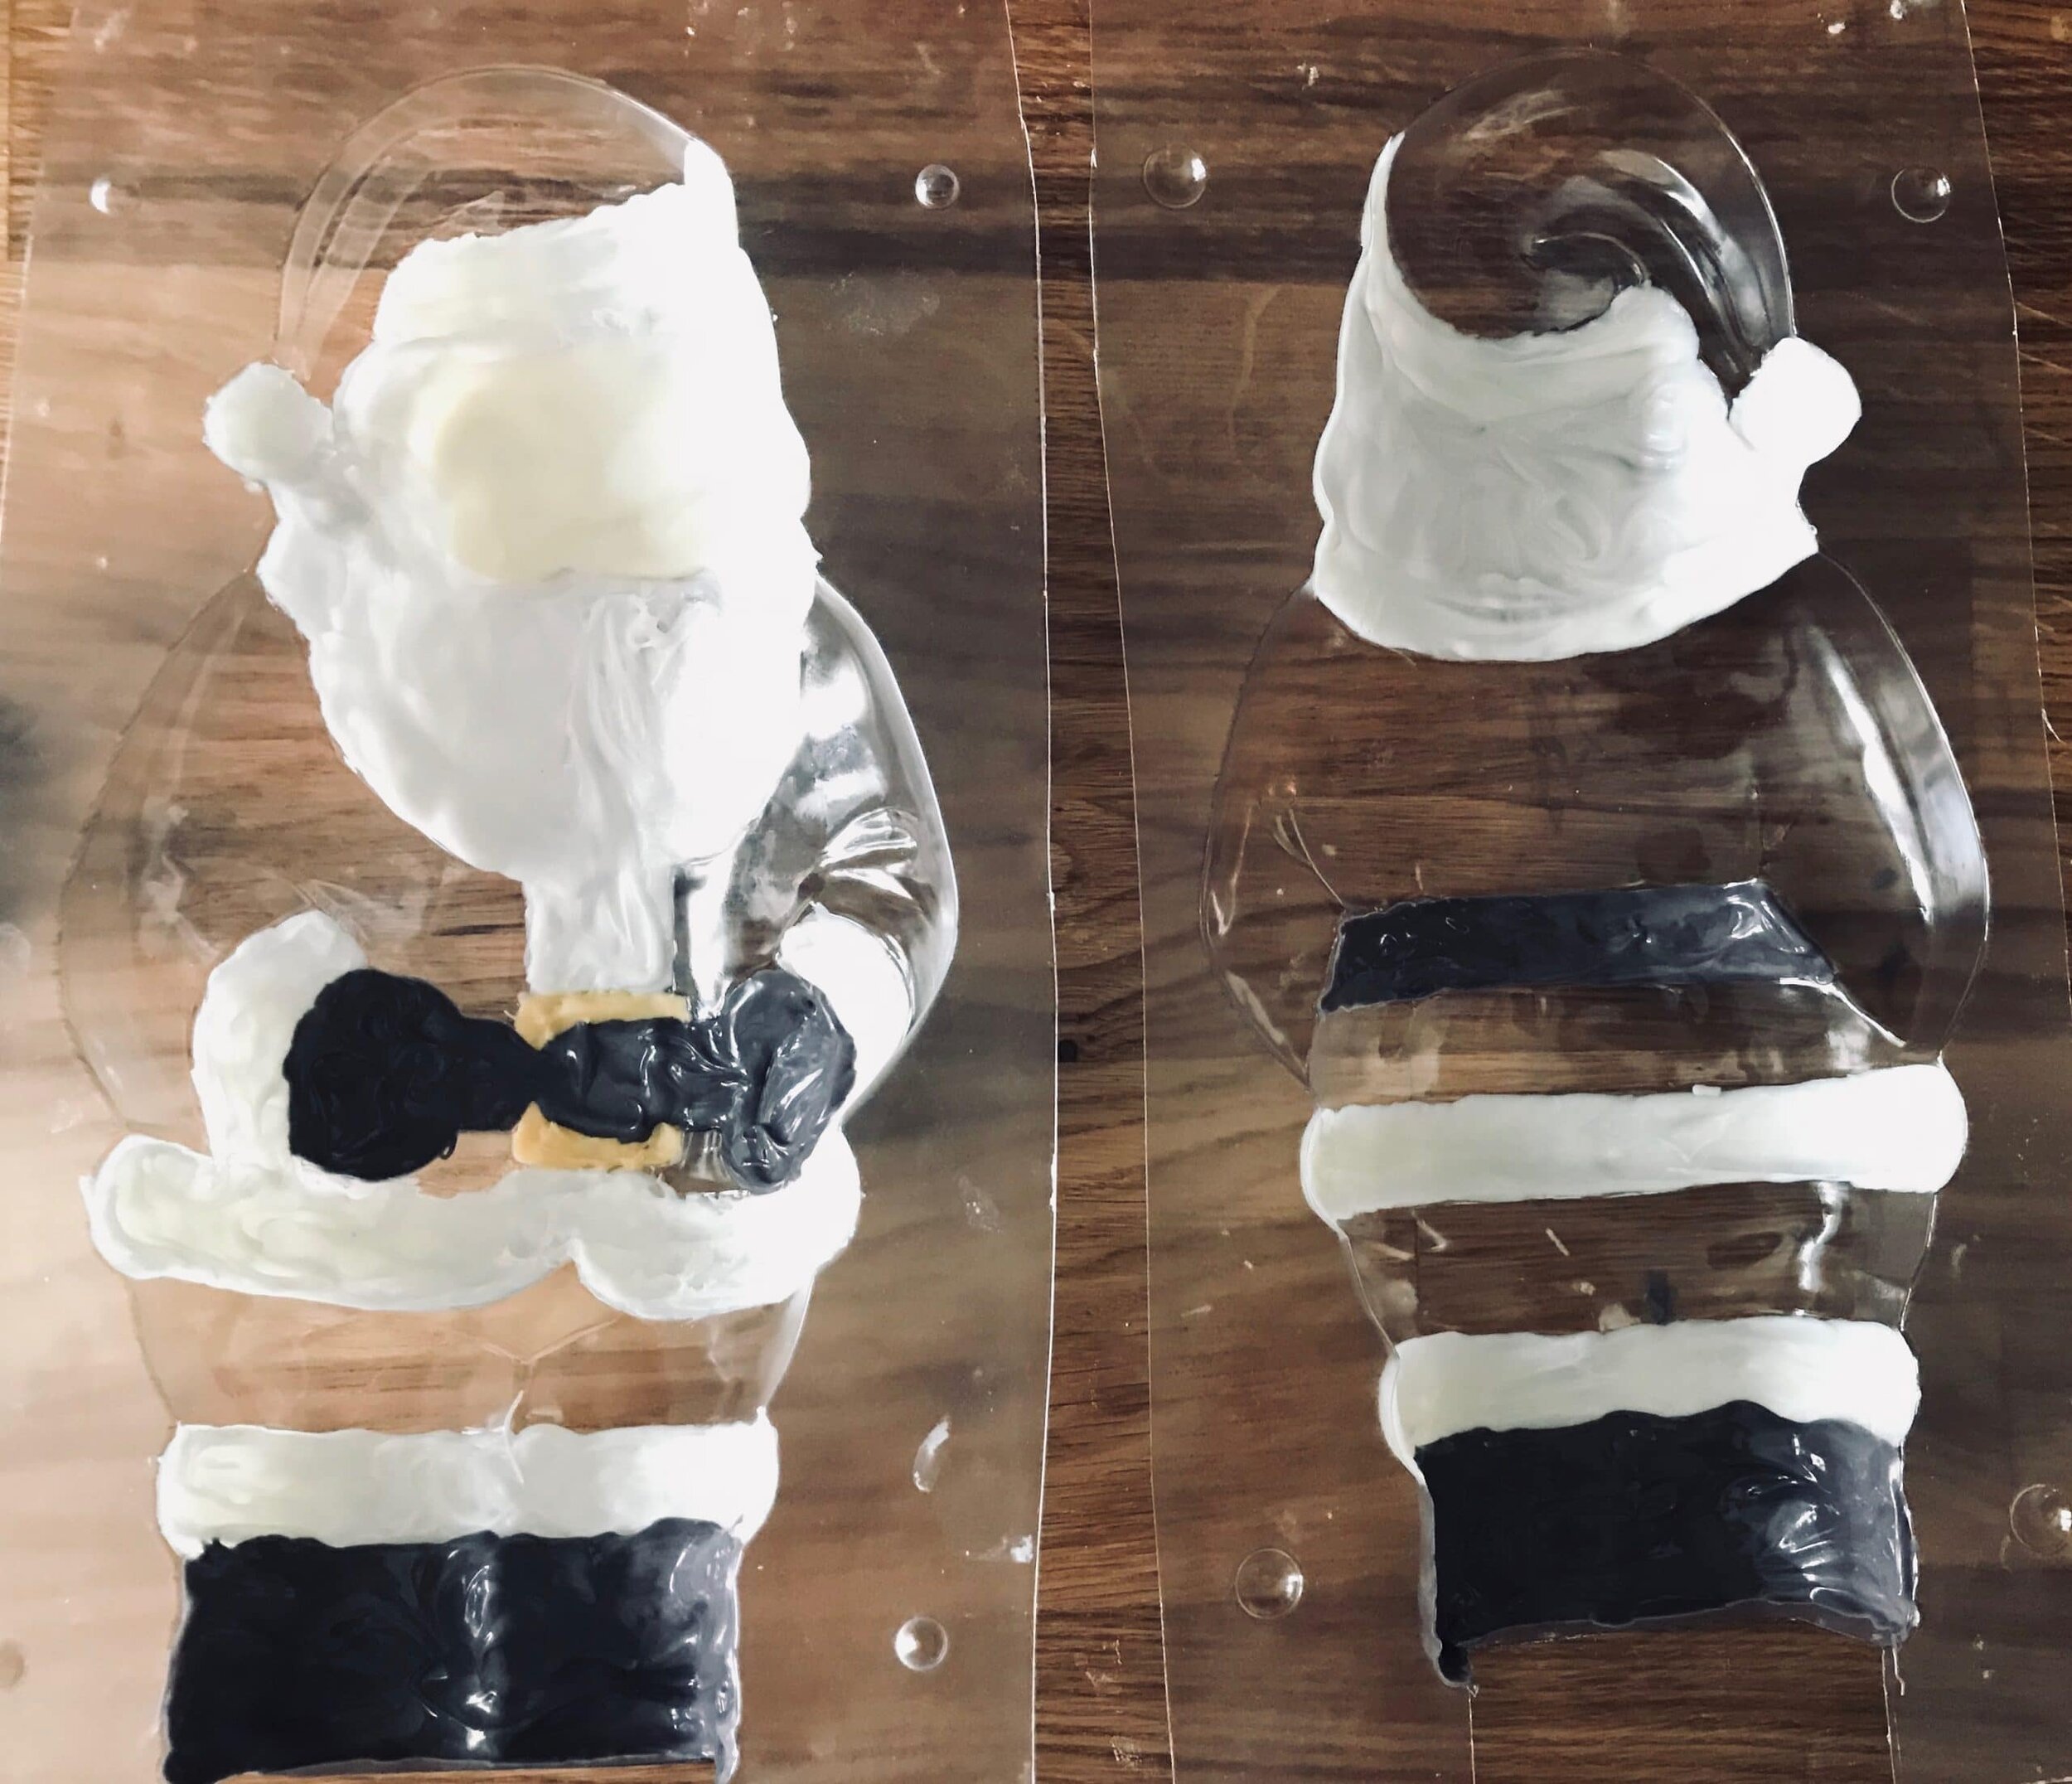
- i find it easier to melt the chocolate in the piping bags instead of in bowls. melt the chocolate as you need it and as you go.
- you will pipe a small amount, one part of the mold at a time, and then use the paintbrush to spread the chocolate.
- start by painting the white parts first in the molds, which includes the face, hair, beard, and white cuffs of the jacket, gloves, and hat.
- let set, you can speed this process up by putting the mold into the freezer for a minute or two. you will do this between each color so they don't spread and mix together.
- melt a little bit of yellow and fill in the buckle of the belt.
- the next color you will want to do is the black, which includes the boots, gloves, and belt.
- lastly, fill in the red, which includes the pants, jacket and hat.
- spread a thick layer on both sides of the mold to fill in any thin spots to prevent the chocolate from breaking. you want the mold to be sturdy to hold the mousse and to prevent leakage or breaking.
- carefully glue both sides of the chocolate molds together to make it 3D and to bring santa to life :)
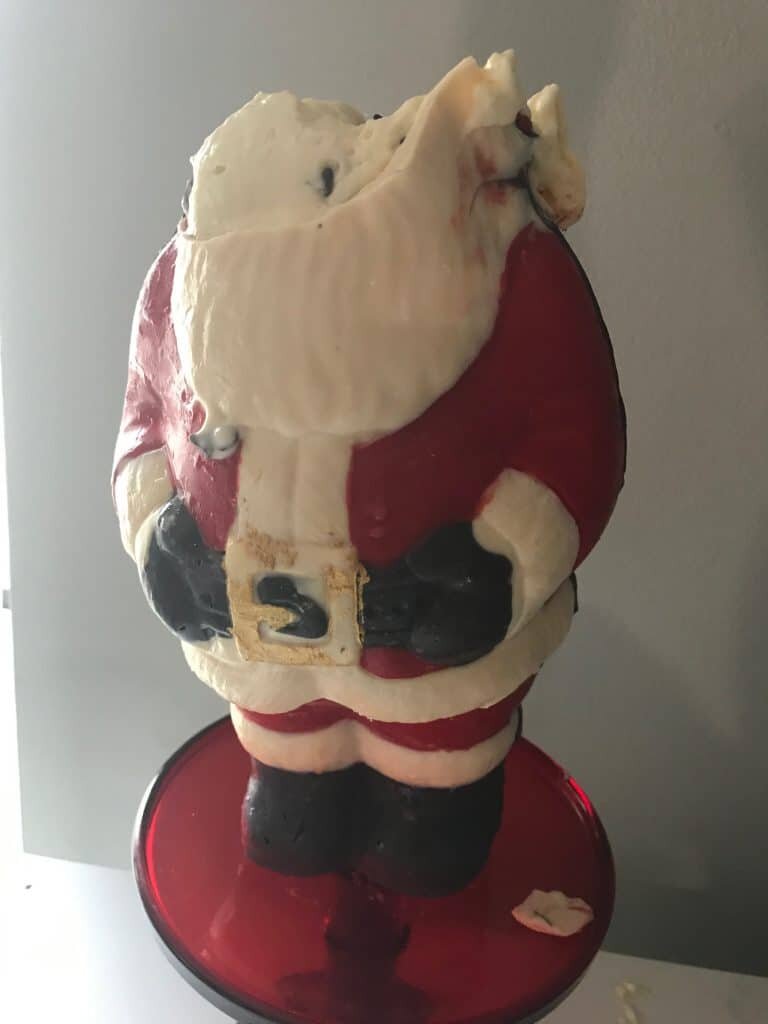
- to fill santa, i found it easier to put him back into the mold and then use chip clips or clothes pins to hold it together. this part might be a 2 person job if it seems a bit scary to you, or you can do what i did and just prop the mold up carefully between some heavy objects to keep it sturdy.
- using a spoon or scoop, fill with a little of the mousse and then sprinkle in the mix-ins. keep doing this process until the mold is completely full.
- to seal the bottom of the mold, either carefully pipe some candy melts on top and let set or make a small candy plaque to glue to the bottom with more chocolate.
- if you notice any leaks coming through the sides of the molds (which i did!) i just placed the whole thing carefully into the freezer until it was completely solid and then carefully fill in the gaps with some chocolate.
- i kept santa in the freezer until i was ready to serve him, and took him out for about 30 minutes beforehand. (he might get a little sticky on the surface, but it's fine)
- crack open with a small hammer, spoon, or whatever you have on hand.